12.06.2010

Exciting news!

One of my favorite bloggers, Kara, from Mine for the Making is having a fantabulous giveaway EVENT! Starting December 12th and running until the 23rd she will have 12 different giveaways! That's right, 12 giveaways! And do you wanna know what the most exciting part is???

......

Well do you??

.....

...Ok I'll tell you. I'M hosting one of the giveaways!! Little ol' me, I'm so excited! Wanna see a teeny tiny little preview of what it is??

Hmm...cropping a teeny tiny portion out of my picture doesn't look so great! Oh well, it adds to the fun-ness of getting ready for some fantastic giveaways! I already know she has excellent taste in bloggers and etsians (wink) so there is sure to be some fabulous prizes! So head on over, follow along, and get geared up for 12 days of giveaways! I'll see you there!


12.05.2010

Handmade Holiday Gift Ideas Features!

Thank you to everyone that has linked up to my Handmade Holiday Gift Ideas party! I loved browsing through all of your great ideas, and I had such a hard time choosing that I'm featuring ALL of your great ideas!


Kara over at Mine for the Making linked up two great ideas, scrap fabric headbands and lovely coasters! I could seriously use at least 20 of those headbands (you do too I'm sure, dig out that scrap fabric stash!), and I think in the future I'm going to a do a spin off of those coasters!

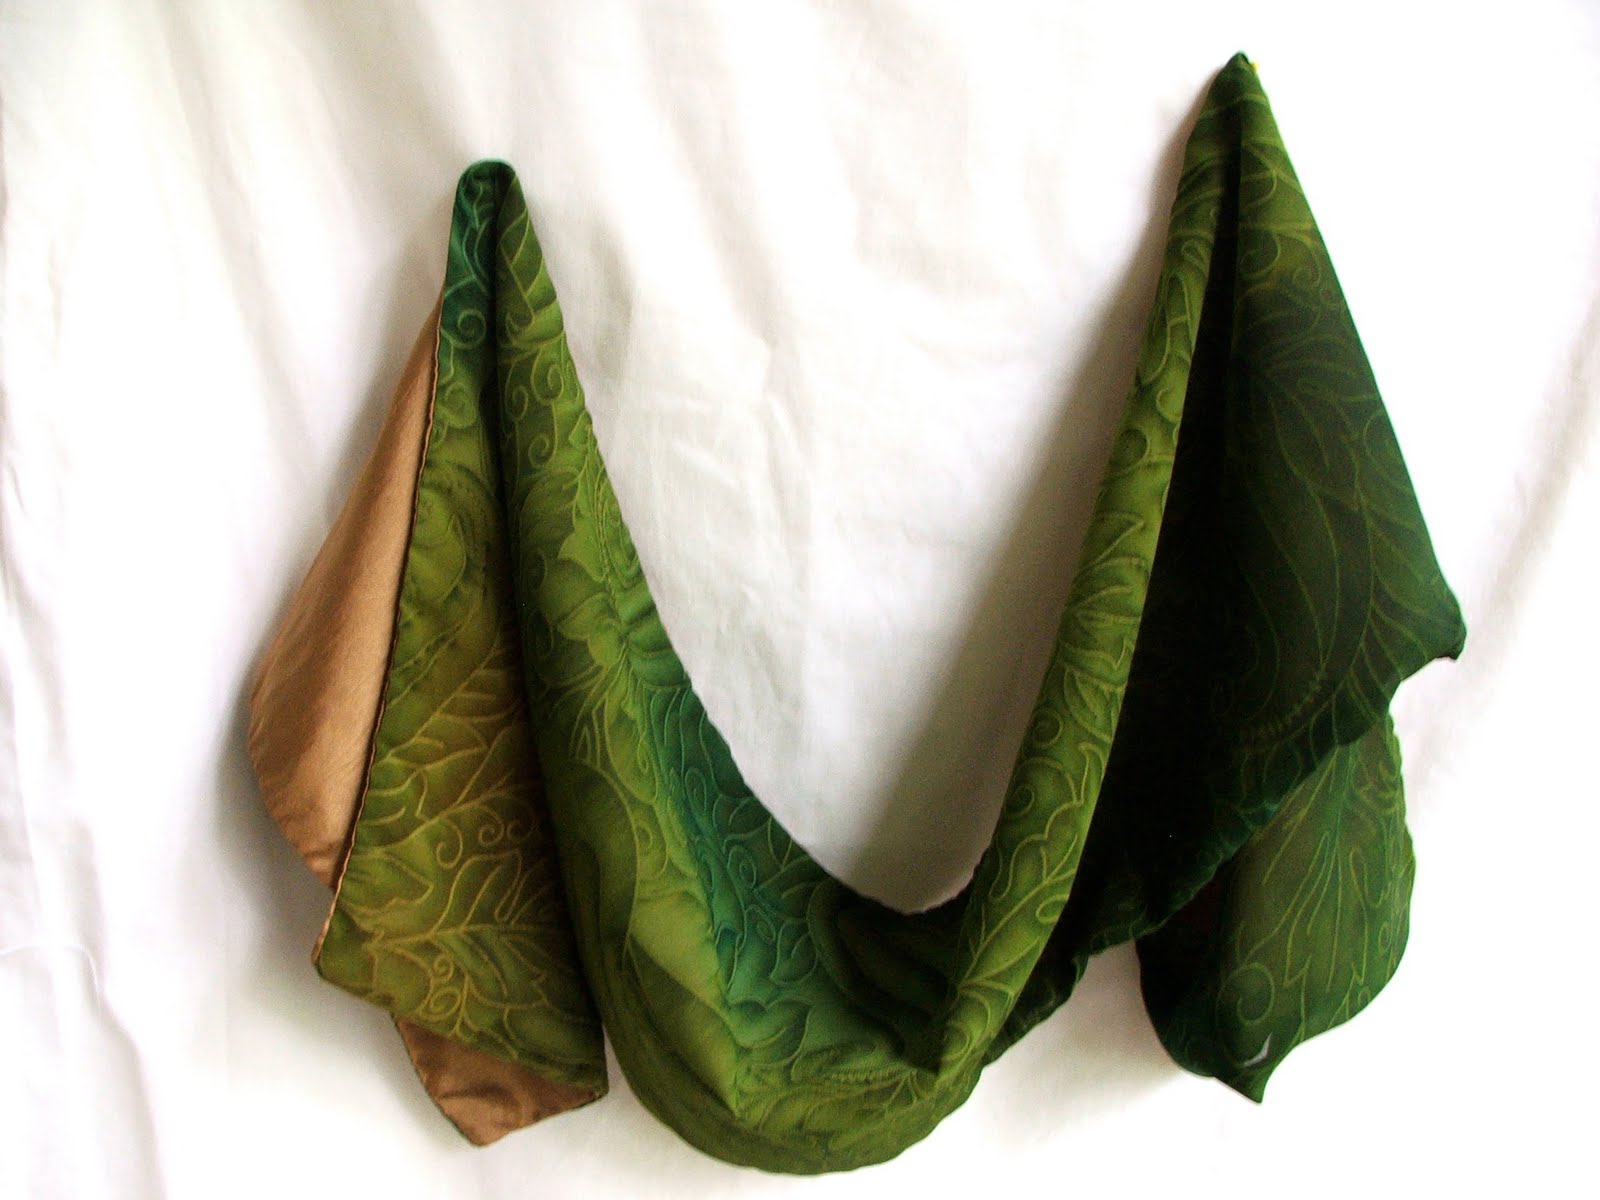
Caroline from Atelier Caroline made this gorgeous dressy chiffon scarf! I can absolutely see myself wrapped up in one of these on a cold winters day and loving my life because I feel so glamorous. Do you want to make me one Caroline? :)

Patty from Life on the Ride Side also linked up two great ideas! This adorable snowflake hair clip and coffee sleeve! I know I can think of several little girls that would love to have one of those clips adorning their pretty hair, and as a teacher I know I would love a coffee sleeve for all of my hot beverage needs!

Melissa from Simple as 1-2-3 dressed up a boring wooden stool and made it absolutely fabulous and personalized! I would have loved one of these as a kid! She also shares a sweet story about Christmas bread.

Amie (great name huh?) from Pinkapotamus made this great scrapbook picture frame! I love that she used a box, that way you can add all sorts of things in the frame and you're not limited to pictures!

Nike (pronounced Neeka) from Choose to Thrive made these fantastic stars out of a disposable cake pan! Brilliant, wouldn't they make great neighbor gifts?

And finally, Down a Clay Road make these simple Christmas decorations. I love the button accents and the sweet little dove, simple details make it beautiful!

Thanks for showing me your talent ladies! Feel free to grab a "Featured" button if you've been featured today! Or, if you've been featured any time. I know I've done a few blog highlights and project features so if you were a part of that grab one as well!

Keep linking up your great ideas! The link party goes until the 24th, so you've got plenty of time! :)

12.03.2010

Foodie Friday- Tater Tot Casserole

I have the perfect recipe for those nights where you just really don't feel like cooking. It's just as easy as a crock pot meal but takes A LOT less time! Let me introduce you to tater tot casserole.

Tater Tot Casserole (adapted from this recipe)

Ingredients
  • 1 pound lean ground beef (we used turkey with equally good results)
  • 1 tablespoon dried onions
  • 1 teaspoon each garlic powder, salt and pepper
  • 2 (19 ounce) cans cream of mushroom soup
  • 1 (32 ounce) package frozen tater tots
  • 1 cup shredded cheese
  • 3-4 cups frozen mixed veggies (optional)

Directions
  1. Preheat oven to 375 degrees F. Spray 9x13 glass baking dish with cooking spray.
  2. Spread raw hamburger or turkey into bottom of pan, covering entire bottom, gently pressing it down.
  3. Sprinkle with dried onions, garlic powder, salt and pepper. 
  4. Spoon soup (undiluted) over the seasoned meat. Layer frozen veggies as next layer, then cheese. (Personally, I think the veggies get bit too mushy in the casserole, so I choose to have a side salad/veggie.)
  5. Layer tater tots on top, covering entire top with tots. Cover with foil and bake at 375 for 1 hour to 90 minutes, or until meat is done. 
This is SUCH a great lazy meal. Absolutely no precooking or thawing! Hello heaven, especially during the busiest time of year! This took me all of 10 minutes to prep, and 80% of that was arranging the tater tots nicely! Happy cooking! Next week I plan on sharing my families sugar cookie recipe. :)

Winner of the Facebook fans only giveaway and a new sponsor

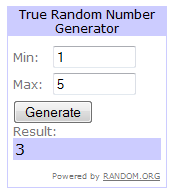
Thank you to everyone who entered my Facebook fans only giveaway! Without further ado, the winner is....

Lucky number three! And who is lucky number three....?

Julie! Congrats Julie! Email me with your address and I will send those fabulous pearl earrings out to you!

Did you know that Julie is actually my newest sponsor? (AND the lovely lady that made my day by sending me a link to her button bracelet?) You may have noticed her button in my side bar. She is the talented woman behind the blog Vibrant Designs. If you've got a few minutes check her out! She's got some amazing bags in her etsy shop that are sure to make the perfect gift for any woman (including yourself!) Here is what she has to say about her shop:

Vibrant Designs is no ordinary bag company.  Whether you are looking for something for your 5 year old niece, 18 year old daughter, 35 year old sister, or 75 year old grandma, we've got you covered!  All of our bags are handmade with attention to detail.  The designs are fashionable, classic, and right on trend.  Our style options include (but are not limited to) handbags, shoulder bags, backpacks, travel bags, wallets, clutches, and diaper bags.  Our products are perfect for that special touch at Christmas.

So go check her out! You won't be disappointed. :)

And to all of you who weren't able to enter the giveaway, make sure you "like" me on Facebook soon! I might be having another Facebook fan giveaway in the future. Stay tuned for Foodie Friday later today!

12.01.2010

What I like Wednesdays- Email and bloggy friends

I have comment moderation on my blog so that whenever I get a comment, it is sent directly to my email address. This way, I never miss a comment, and I can reply to each person individually! It saves me so much time, and I love emailing readers, it makes me so happy to make bloggy friends! (Hence, "what I like") But sadly...sometimes when I hit "reply" I get the dreaded noreply-comment@blogger.com. Nooooooooooo!!!! I hate it when that happens! So today, I will show you how to link up your email so that I (well, and everyone else whose blog you comment on) can reply back to you! It's soo easy.

Go to your Dashboard.

See where it says "Edit Profile?" (Left side, next your picture, highlighted in orange.) Click it.

See where it says "Show my email address?" (It has a fancy star around it.) Make sure it's checked!!!! And make sure your email is added in that little box that I put a fancy rectangle around.

That's it!! Now I can reply to your comments and I will be so ridiculously happy! So please oh please make sure that little box is checked. :)

Finally, I like, no LOVE that a reader sent me a link to one of her posts that showed off a button bracelet she made using my tutorial!!!

Didn't she do a fantastic job?? I love the different shades of blue, reminds me of sky at twilight! Thank you Julie (of Vibrant Designs), for making my day! :)

----------------------------------------------------------------

Don't forget to link up your fabulous projects to my Handmade Holiday Gift Ideas party! I'll be featuring a few of my favorites on Sunday!

11.30.2010

Tutorial Tuesday- Festive Holiday Pin

I know everyone in blogland is doing cutesy Christmas things, like pretty decor and advent calendars and other pretties, but you're probably not going to find much of that here on KC&A this season. You see, I love the little chocolate advent calendars for a buck from the grocery store, and the hubs and I are basement living and my MIL decks out the house and I don't feel like I need to add anything to decked outed-ness of it all. So I'm going to primarily be focusing on Christmas accessories, much like today's post! Christmas pins, ornaments, necklaces, and hopefully a few gift ideas squeezed in there.

Hmm, don't know where that little bit of thought vomit came from. Onto your regularly scheduled Tutorial Tuesday!!
This is Pete (named so by the hubs.) He is an adorably festive Christmas tree pin that festive-fies my oh so bland favorite white hoodie. I love him, he makes me happy. Would you like to have Pete adorn your hopefully-not-as-bland-as-mine white hoodie???

You will need:
  • Green felt
  • Pinking shears
  • Glue gun
  • Ribbon
  • Pin back
  • Cup o' embellishments (what? You don't have one of these?? You should! If not, glitter, pom poms, rhinestones, anything you'd like will work here.)

 Seriously looove my cup o' embellishments.

Fold your green felt in half so that you'll end up with two Christmas tree shapes. (This is optional, I just wanted my pin to have a little more structure.) Cut out a Christmas tree shaped triangle with your pinking shears.

Get really mad at blogger for ALWAYS turning your stupid pictures upside down or sideways, try to get over it, and then realize that the picture still works....I guess. You'll have two triangles now, glue them together with hot glue.
Now you can embellish it! I added some ribbon to mine to mimic garland.

I didn't bother cutting the ribbon in between. NOTE: The ribbon I used was a tad too thin, I tried really hard to squeeze out thin lines of hot glue but I still ended up with a few glue gun smears. I'll cover them up a little next.

I snipped off the extra ribbon and dug through my cup o' embellishments. I found this cute little star button and this glittery present! I totally lucked out. Glued em on.

Glue a pin on the back.

WAH-BAM!! Almost instantly festive. I think Pete is utterly adorable, and I think he might need a candy cane, Santa hat, and ornament to go with him. Ooooh, maybe in a girly hair clip? (Am I still allowed to wear those??

Happy crafting! Don't forget to check my "Parties" tab to see where I'm linking up! And for all my Jewish friends and readers out there, have a happy start of Hanukkah!

-----------------------------
Have you linked up your Handmade Holiday Gift Ideas (here) yet?? Make sure you do! I'll be featuring my favorites this Sunday! :)

11.29.2010

Free Christmas printable

Well, everyone else is doing it! So I decided to jump on the bandwagon and make my own free Christmas printable! I however, spun it around a bit, because let's face it: at this time of year there aren't a lot of people "keeping calm." :)

Right click to save and then print it out and stick it in a frame to make me the happiest girl in the world! Hope you enjoy my humorous printable. :) Come back tomorrow for my first Christmas craft!

And don't forget to link up any of your Handmade Holiday Gift Ideas to my link party!
Related Posts Plugin for WordPress, Blogger...