Showing posts with label ribbon. Show all posts

12.17.2011

Vintage style cuff

First things first, this idea isn't originally my own. It was inspired by {this} tutorial over at I Heart Naptime.

Mine's a little different though. When I saw this pretty pleated ribbon at Hobby Lobby the very first thing I thought of was "Oh!! That would make an awesome cuff!" And here we are. You wanna make one?

Uh, don't mind the pic, I changed my mind a lot while I was making this. So, besides the glue gun, heat sealer, and scissors, you will need:

  • Pleated ribbon
  • Ruffled velvet ribbon
  • Buttons
  • Velcro
  • Satin ribbon

Just pretend everything is in the picture, mmkay?

Wrap the ribbon around your wrist and subtract an inch. Cut the smaller ribbon the same length, and glue the ruffled ribbon on the pleated ribbon right down the middle.

Ok...I cheated a teensy bit here. I used button shank removers to take the shanks off, but this isn't necessary. You could glue them down just fine or use your scissors to take the shanks off. Don't throw rocks at me!

Arrange your buttons on your cuff in a pleasing way, and glue them down.

To close the cuff, I cut two 2 inch lengths of matching satin ribbon and heat sealed the ends. I glued them on the back side of the cuff.

The Velcro part of it...it's really just measuring and guessing. I wrapped the cuff around my wrist and overlapped the ribbons, then a glued on the Velcro where the ribbons overlapped.

See? It didn't totally match up, but since I measured it against my wrist it worked out perfectly!

And I really love how it turned out! The gold buttons really gave it a more vintage-ish feel.

(Dude, my hair is cuh-raaaazy in this one!)

I seriously love it, I want to wear it with everything and I am typically not a bracelet person.

We still have one more day of the Jewelry Making for the Non-Jewelry Maker series! Though tomorrow...I cheat a little bit. :( There are a few easy to find jewelry supplies but I couldn't pass up the opportunity for some really simple jewelry.

I'll give you a hint. It's the necklace I'm wearing.

12.16.2011

Ribbon and chain necklace

I am still sticking to my "no fancy tools or supplies" rule here, promise! Today's tute comes from the trim departments of both Joann and Hobby Lobby. You would amazed

Yup, seriously. That's some metal trim from Joann. It's a bit pricey, so if you go looking for it make sure to bring some coupons. The whole thing ties together with ribbon (as do most of these creations.) Ready to make your own?

Aside from scissors, glue gun, and heat sealer, you will need:

  • Metal trim (or if you want to break the no supplies rule the jewelry section has some lovely chain)
  • Satin ribbon

These materials lists seem kind of pointless don't they?

First, cut your trim to about 12-14 inches long.

Heat seal the end of a 12 inch length of ribbon

Thread it through a link and glue it down. Repeat on the other side.

Don't worry, I'll keep your secret when you give away one of these to each of your friends and neighbors.

Oh wait, you have some chain leftover?

Same thing as the necklace. Measure the chain around your wrist and subtract an inch and use 7ish inch ribbon strands.

Weave some pretty trim through the links if you're feeling really fancy.

Use another length of ribbon to cover up raw edges. Better make two for good luck. NOW you're done.

I've been really into stacking bracelets lately! (See that ring? It's a button threaded through a thin hair tie using the same method from earlier this week. Holla!!)

Hope you're having fun with this little series! I have one more tomorrow and one "cheating" post.

Happy crafting!

12.15.2011

Sparkly garland necklace

Here I go again making necklaces out of garland. (In case you missed it the first time, check it out {here}) I can't help it though, garland can just be so pretty! Especially when it's sparkly...

May have looked better on the tree, but nope! A necklace it shall become.

A very pretty holiday necklace! I am thrilled with how it turned out! Wanna make one?

Aside from your glue gun, your scissors, and your heat sealer (remember that trifecta we use everyday?) You will need:
  • Sparkly garland, got mine at Hobby Lobby
  • Thick satin ribbon (think this is 1 3/4")

And that's it. Easy peasy 1-2-3sy.

Cut two lengths of garland, one should be two inches shorter than the other. I did a 14 inch strand and a 12 inch strand.

Cut and heat seal two 12 inch lengths of ribbon. I also folded over and glued down the ends so that it would be a little bit more sturdy for the garland.

Glue the longer strand of garland to the bottoms of the ends of the ribbon (as shown) and then glue the shorter strand just above that (as not show, because I spaced and didn't take a picture.)

And that's it. Seriously. I feel silly posting these tutes because all but one took me less than 10 minutes! But I couldn't pass up the opportunity to show you how to make inexpensive jewelry at home with no special tools.

I am now a sparkly, dress clad, ready-for-a-party happy camper. That's the last of the "formal" looking jewelry  tomorrow we start casual, everyday jewelry! See you then my friends! :)

12.13.2011

Velvet choker

Squee!! Welcome to the first installment of "Jewelry Making for the Non-Jewelry Maker" series! I have been wanting to this series for some time now, I've had so many ideas swimming in my head and I am dang glad to be getting them posted!

Soo... what is "Jewelry Making for the Non-Jewelry Maker?" Well, it started out as a little challenge to myself. I do that a lot. "Amie, can you make this sewing item no-sew?" "What can you accomplish with your glue gun today?" "Hmm...can you make some jewelry without using any of your fancy tools?"

Shazam. Why yes I can. I played around with ribbon, trim, glue, buttons, and a bunch of other things in the craft store and came up with some jewelry pieces that can be made without any special tools, techniques, or supplies. Almost everything I used you should be able to find around your house, or in your craft stash. And just in time to stuff some stockings and keep your wallet at bay. Everything in the series costs pennies to make!

The first few tutes will be more "formal" jewelry, as formal as glue gunning can get that is. But my intention was more "Christmas party" jewelry. The others will be more casual, everyday jewelry. First item on the list, a velvet choker. For some reason, velvet chokers just seem so Christmasy to me, so festive!

Overkill? Yeah sorry. Picnik is way too fun.

As I was saying, I love velvet chokers around Christmas time. They are delicate, soft, and simple. I had one when I was younger (I almost typed "a little girl" until I remember that I am still in fact, little.) that I absolutely adored. So when Joann was having a great sale on trim, I snatched up the last yard of velvet ribbon to make this lovely choker.

All items in the series will need a glue gun, scissors and something to heat seal ribbon, so make sure you always have that on hand. In addition, you will need:

  • Velvet ribbon
  • Blingy trim
  • Blingy button
  • Velcro (oops, forgot to put that in the pic.)
Wrap the ribbon around your neck comfortably, and add an inch. Cut.

Glue velcro on the ends so that you can securely clasp the choker around your neck.

Glue your blingy trim around the velvet ribbon. At this point, I looked at my creation and realized that it looked like a black version of my cat's collars. Fail Amie. So I added some bling.

You could certainly glue your button/embellishment on, but this button is from my Mugga and I didn't want to ruin it with hot glue, sew I sewed it on. (Intentional pun)

Oh, it might be helpful to make some room for it. Jus' saying.

I put that choker on and BAM, I felt like a kid again. Actually, I felt more like Alice.

Ok, ok mine is totally different I know.

But I still like it. :)

What's that on my finger, you ask? That's tomorrow's tutorial. :) See you then my friends!

10.21.2011

No commitment Halloween wreath plus an almost funny story

Now that it is 10 days before Halloween, you've probably seen enough wreaths to last you until next year.

But humor me, kay? Because I like mine.

I love the colors (purple is a GREAT Halloween color!) I love the polka dots, I love the arglye-ish wrap around ribbon thing I did. Love the spider web ribbon tied in bows. It's just cool.

But why is it called "no commitment?"

Because not one thing is cut, glued, or permanently altered in any kind of way.

See? That's all pinned down!

Let me tell you a story.

It's 11pm. Amie is blogging, David is playing some kind of MMORPG. Suddenly.

"THAT'S IT!!!!"

David sees his wife suddenly stand up, put her laptop down, and stomp over to her craft area. (Area, not room. sad face.) She starts pulling random things off shelves, digging through the mess under the air hockey table, and plops herself down on the floor with a big pile of stuff.

".........honey? What are you doing?"

"Making a wreath!!!"

"....why?"

"Because it's Halloween!!!"

"Whatever you want honey."

You see, all of our Halloween decorations are in a storage unit 20 miles away. And to find a chunk of time long enough to drive down, pick it all up, drive back, and put it all up is kind of impossible. So we decided to forgo getting all of it and just do without decorations.

I immediately regretted that decision. Halloween is my FAVE-O-RITE holiday. How can I NOT decorate? I tried to suppress the urge. I mean come on, we live in a basement. All our stuff is crammed into, onto, and under all our furniture. We don't have defined spaces, it's mostly just one big room. In short: it's really hard to decorate. No mantels, one window, no front door, no shelves that aren't completely full of crap. Ugh.

I failed at suppressing. I just snapped at late last week and grabbed a whole bunch of stuff. Two rolls of black tulle, a roll of orange polka dot ribbon, purple polka dot ribbon, spider web ribbon, and an old wooden wreath form. I was about to grab my glue gun when I thought "Wait....Amie you HAVE a Halloween wreath. You shouldn't make another one."

Yes, but I don't have it HERE. I compromised my challenging myself to make the wreath without cutting or gluing anything. So essentially I could just unwind everything, roll it back up, and use all the materials for something else.

And I succeeded! I tied the tulle around the wreath and wrapped away. I taped the ribbon down in the back and wrapped that around too, pinning it when I was done. Did the same for the purple ribbon. And I took all three yards of that spider web ribbing and tied over a dozen little bows from one continuous strip. Pinned those down too. BOO YA.

Essentially, I can take the whole thing apart and have perfectly usable materials again. But we both no that probably won't happen, mostly because I am very lazy I like it too much. Plus it was totally free, which is awesome.

Oh, that weird mess of orange ribbon at the top WAS the hang-y thing-y. But it didn't work so we wrapped it  up. Ignore it please.

Have you ever made a non commitment craft before? Share with me!

10.14.2011

Guest Post: How to tie a bow on a card from I Hold All the Cards

Today we have my real life friend and freshman year college roommate guest posting! Brielle blogs over at {I Hold All the Cards} What a clever name right? I've already talked about her {here} but if you are new to KC&A you might not have seen her! Brielle makes AMAZING handmade cards, she's really got a knack for it! And I have owned five of them, so I know it's legit. They are awesome. She's here to teach you how to tie bows on cards, the pretty way!
---------------------------------------------------------------------------
As requested I am posting a tutorial so you can tie the bows you've seen on my cards. There are several different ways to tie bows. I like the two that I am showing you the best. They are easy to do. I've taken step by step pictures...which wasn't easy by the way. I had to tie the bow with one hand and hold the camera in the other.

Helpful hint...Use ribbon that is the same on both sides. If there is a print on one side it is a little trickier to get the print facing the way you want it.

Ok Lets get started. I'll start with the method that saves the most ribbon.

Both of these cards use this method.
Notice how the ribbon is tucked between the embossed paper and the card base.
The ribbon can not be seen on the inside of the card. Even if that white piece of paper wasn't on the inside you still wouldn't be able to see the ribbon. Got it?

When I tie my bows I tie it with the ribbon still on the spool. I don't cut a piece off. It wastes less ribbon and it is easier then trying to guess how much you will need for your project.
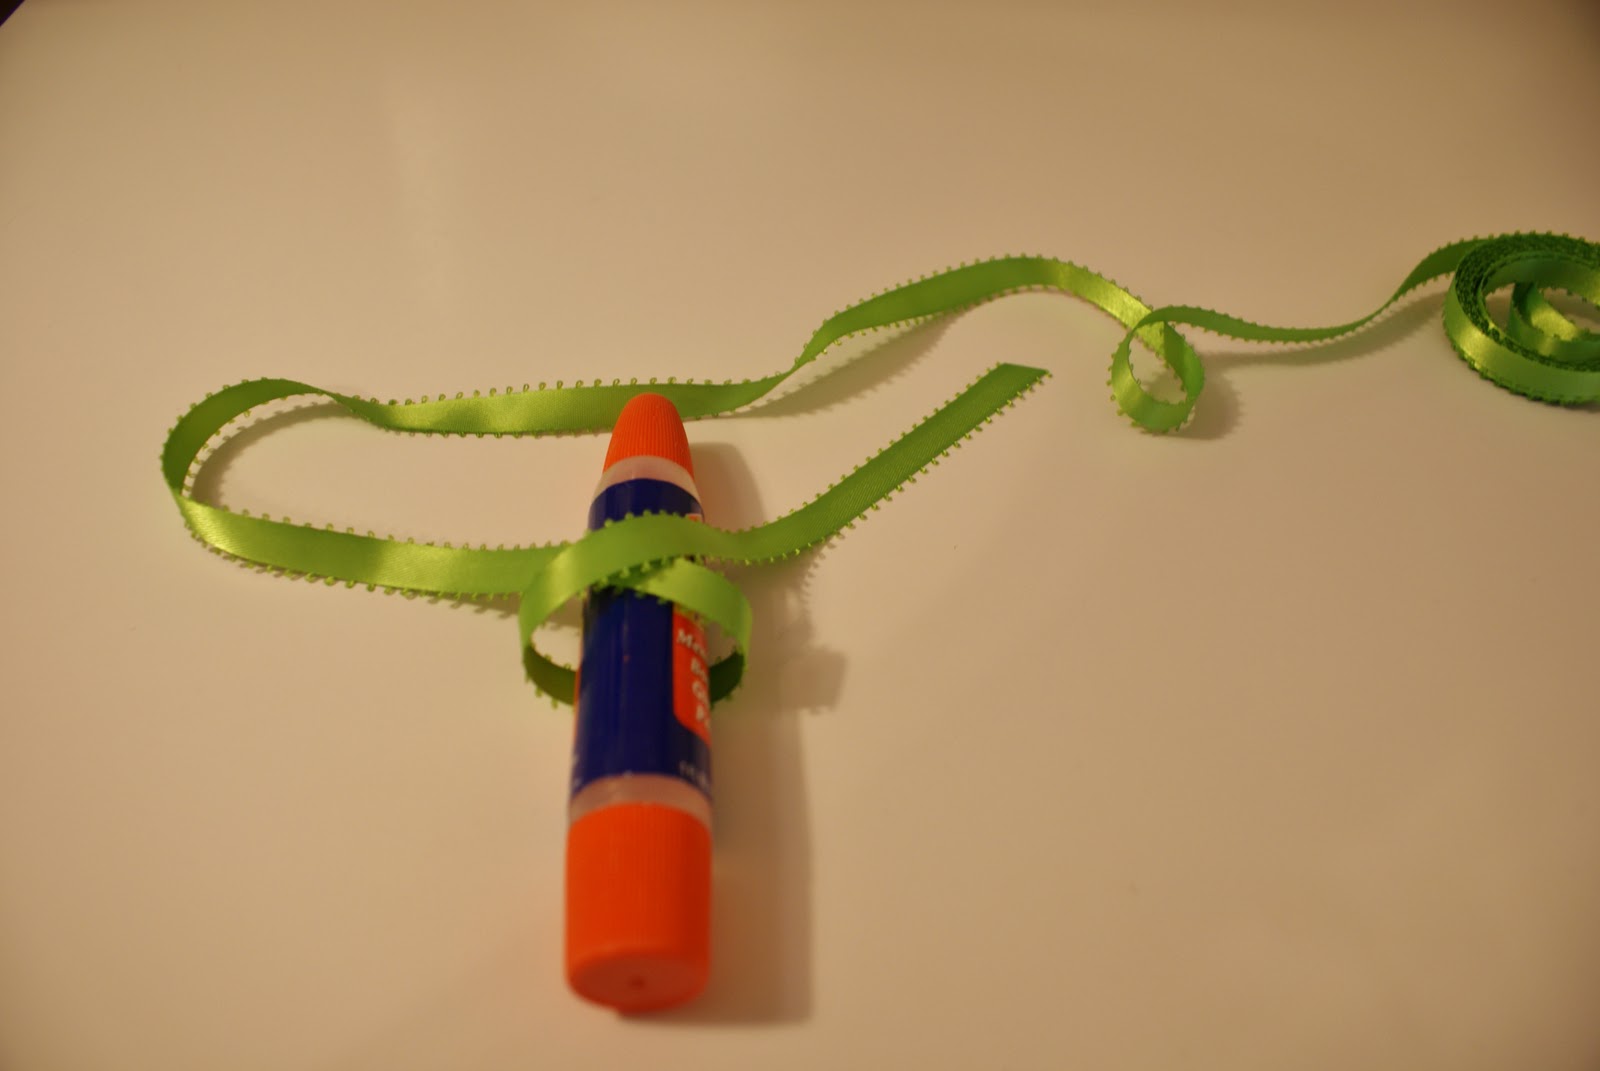
I use this glue stick to tie my ribbon around. You can use a regular glue stick or pretty much anything else that that a similar shape.
Confused? You are just tying a double knot.
Pull the glue stick out.
This is what it will look like.
Cut it off from the rest of the spool of ribbon.
Use scissors to cut the center of the loop at an angel.
See?
This is what it will look like
Sometimes I pull it tighter or adjust it a little. Just tug on the short part of the ribbon.
Use double sided tape to stick it to the cardstock.
wrap the extra ribbon around the back and glue the cardstock to your card base.
Voila!
You can see it doesn't show on the inside of the card.

Now you know how it is done. If you have any questions leave me a comment. I will be posting my other bow tying method tomorrow. (Amie comment, I'm late posting this, so it's actually over there right now!)
---------------------------------------------------------------------
See what I mean? Thanks Brielle! Don't forget to head over to {I Hold All the Cards} and leave her some love. :)
Related Posts Plugin for WordPress, Blogger...