Showing posts with label Christmas. Show all posts

12.11.2010

Foodie Friday- Dad's Sugar Cookies

You ready for the bestest most awesome sugar cookies around??? My dad has been making these for as long as I can remember! My mom used to teach Relief Society and my dad would make these for her every Sunday she taught. They have always been a huge hit, soft yet firm with perfect sugar cookie goodness.

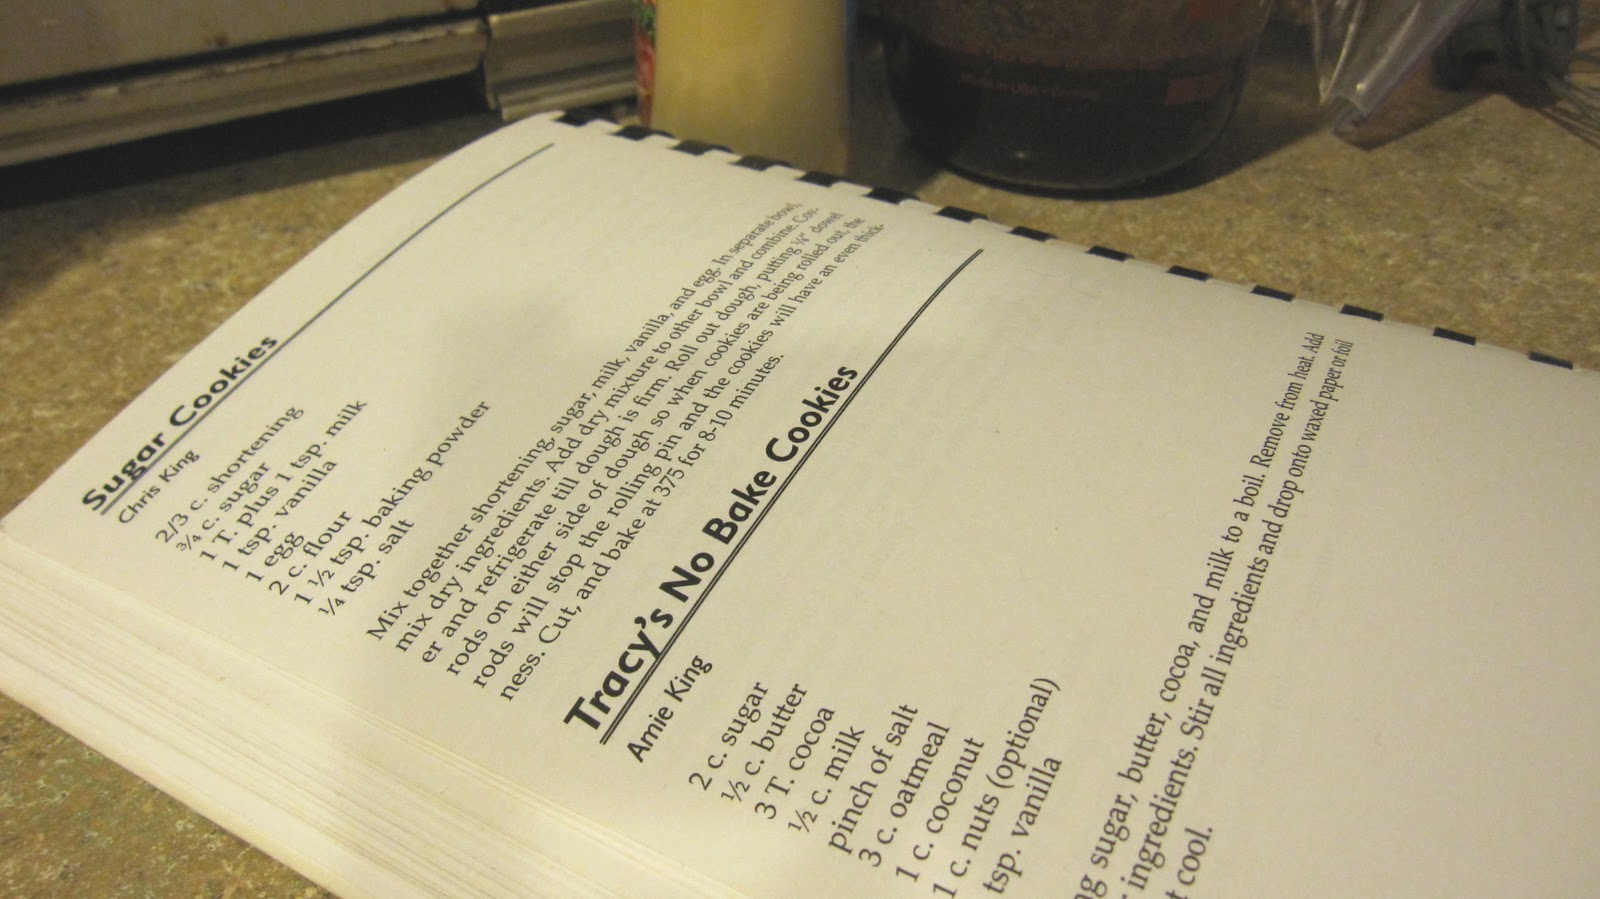
They even made it into the ward cookbook! Are you ready to get started?

Dad's Sugar Cookies
  • 2/3 cup shortening
  • 3/4 cup white sugar
  • 1 tablespoon plus 1 teaspoon milk
  • 1 teaspoon vanilla
  • 1 egg 
  • 2 cups flour
  • 1 1/2 teaspoons baking powder
  • 1/4 teaspoon salt

Directions
  1. Mix together shortening, sugar, milk, vanilla and egg. 
  2. In another bowl, mix together dry ingredients.
  3. Add dry mixture to the other bowl and combine. (A mixer really helps here.)
  4. Cover and refrigerate until firm (at least an hour).
  5. Roll out dough, putting 1/4" dowel rods on either side of dough so when cookie are being rolled out, the rods will stop the rolling pin and the cookies will have an even thickness.
  6. Cut, and bake at 375 for 8-10 minutes.

Now, for picture directions. 1) because they are more fun, 2) to give a glimpse into my fun life. :)


Mix together your ingredients (this is the boring part, yawn!!)

If that part with the dowels doesn't make sense, hopefully the pictures clear it up. You place the 1/4" dowels on the surface, the cookie dough in the center, then roll!

My dad shows proper rolling technique, make sure to flour your surface well!

Ahhh, nicely rolled out in even thickness. This helps to ensure perfect cookies!

Get cutting! (You cold also roll your dough into balls and press flat with the bottom of a cup.)

Bake them! Now pay attention to this part. Take your cookies out at eight minutes. Flip them over, and if they are SLIGHTLY golden take them out. If not, put them back in for 2 more minutes. Check again. When are they are a beautiful gold color take them out, and let them SIT for a minute or two before taking them off the pan.

Let them cool. Ok...so we don't have the most traditional Christmas cookies! So what? We like it. (See the dinosaur one that's flipped? They should be that color on the bottom.)

 (Make sure you get some help!)
 Now it's the fun part! I loooove decorating cookies. (These smile are completely real, by the way. This is a candid shot. :)
 Seriously, could you find a happier face??
 We all agreed that Dad's cookie was the best. Apparently time and effort really help to make a cookie look good! (Whoda thunk??)
This is not a backwards four, by the way. It's the Liberty Bell.

 Uuuuuummm...my kitty cat and airplane cookies. Ugly yes? But oh so fitting!!
These are all of our beautiful (and scrumptious) Christmas cookies. Even if you don't like cookies, do it for some quality time with your loved ones!

12.08.2010

What I like Wednesdays- Christmas trees

We're a little late, but we finally got the tree up! It took hours of cleaning, a little bit of digging, and a lot of rearranging but the tree is up! Sadly...the ornaments and skirts aren't on it, but it's a start right?

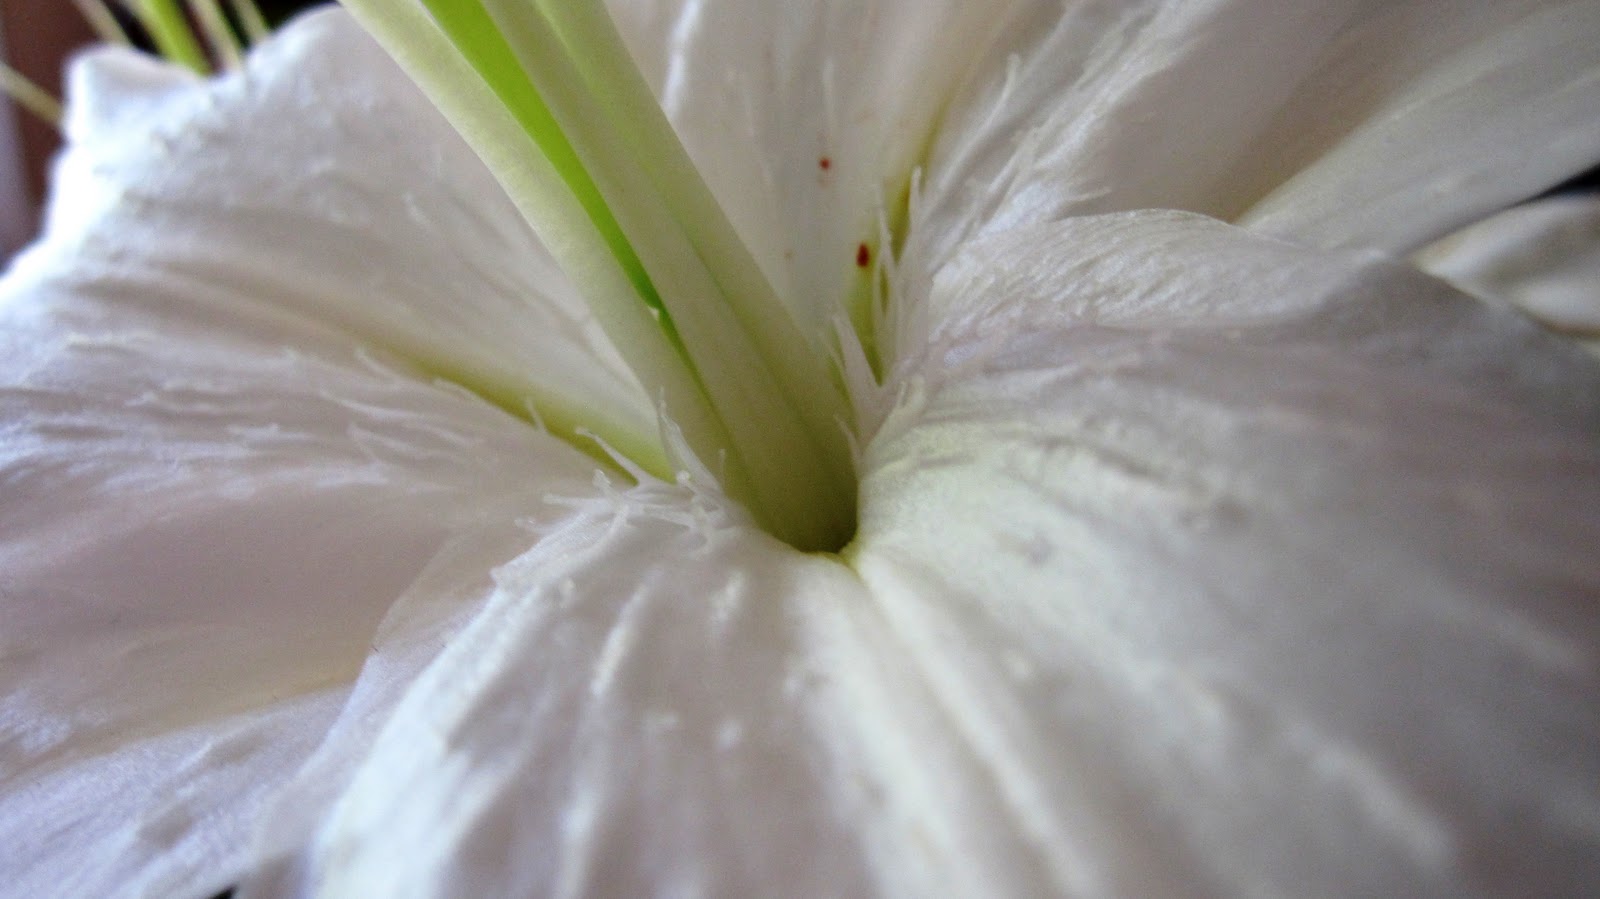
 Ok, so this isn't a Christmas tree, I just love lilies!
 I'm pretty sure Aeris knew exactly what was in the box. She kept sitting on it, and looking at us like "Please oh please oh please put this up!!"
 After all the cleaning and prep work, we finally busted it out!
 She literally leaped into the box as soon as the tree was out. Maybe she was just interested in the box!
 Ha, who am I kidding? What kitty doesn't love a Christmas tree??
 We only had one idea for the placement of the tree (basement living remember?) But the tree was two inches two tall!! Arrrgh!! We had to do a lot of rearranging but we finally found a spat that kinda sorta works. Still looks like it's in the middle of the room but hey, a Christmas tree is a Christmas tree right?

WHY does blogger keep turning my pictures sideways??? I have no idea how to fix this. I've tried turning it around every single different way and even using different pictures but it keeps doing this. What is going on? Does anyone know how to fix it?

Hopefully I'll have an ornament tutorial later this week (and a better picture of the tree!)

12.07.2010

Tutorial Tuesdays- Upcycled garland necklace

Are Christmas posts boring? I really hope not, but for some reason I have this sinking feeling that I am becoming repetitive and boring. If I am, let me know, and I will try to make myself (and my posts) a little more exciting!

I'm really excited about today's Tutorial Tuesday. I've been wanting to make this necklace FOREVER now and Christmas is what finally pushed me to do it. You've probably seen those beautiful beaded necklace knotted with ribbon right? Well, here's my take on it.

I kind of sort of love it. It's Christmasy enough to festive but muted enough to not be over the top. And the best part is, I gave something old new life! I found this fantastic vintage garland over the summer and I fell in love with it! Big wooden beads in festive colors? Bliss. Would you like to make one too?

You will need:
  • Fantastic vintage garland (or, if you don't have any of that, large wooden beads with big holes will work just as well.)
  • A yard or so of ribbon
  • Scissors
  • Lighter/match/candle
Cut a yard or so of ribbon from your spool. I didn't even measure here, I just wrapped it around my head and added a lot of extra room on each side to make sure it would long enough to tie in a bow after knotting. Just remember, you can always cut away some ribbon if it ends up being too long. Then, cut your ribbon into thin points and heat seal the edges with your heat source. This makes the ribbon more needlelike and makes threading wayyy easier.

Make sure you get beads with big enough holes in them! Otherwise you'll want to pull your hair out and although this necklace is pretty I don't think it's pretty enough to distract from a bald spot.

Find the middle of your ribbon and mark it, then string your first bead on. Slide it down the ribbon until it's centered.

Tie a knot on both sides of the bead. It will take a little bit of tweaking, pulling, and possible retying but after a few tries you'll get the hang of it.

After you've got the middle bead centered, keep stringing beads on either side (so string a bead on the right side of your first bead, then knot it. Then string a bead on the left side and knot it. Then back to the right, then left, you get the idea!) This is what it looked like almost done.

And this is what it looks like done! I love it, I made my short and a little more choker like but the sky's the limit here! You can make it super long and more "statementy," all one color, or even use green ribbon to make it a little more festive! Use your imagination (and send me a picture! I'd love to see!)

What are kitty paws doing in my pictures? Well, this little miss loves to get into my stuff when I'm making jewelry. Anything with strings and beads and she is so there!

But really, how can you resist a cute and playful kitty? I certainly can't. Happy crafting! Make sure you click my "parties" tab to see all the places I'm linking up. You're sure to find some great new inspiring projects!
-----------------------------
Have you submitted your link to my Handmade Holiday Gift Ideas linky party yet? YOU HAVEN'T!?!? Well you should, I'm sure there are a ton of us out there that are behind on holiday presents and need YOUR creative genius to help us out! So go on and link up! I'll be featuring a few more of my favorites on Sunday!



Kitty
Cats and Airplanes


12.05.2010

Handmade Holiday Gift Ideas Features!

Thank you to everyone that has linked up to my Handmade Holiday Gift Ideas party! I loved browsing through all of your great ideas, and I had such a hard time choosing that I'm featuring ALL of your great ideas!


Kara over at Mine for the Making linked up two great ideas, scrap fabric headbands and lovely coasters! I could seriously use at least 20 of those headbands (you do too I'm sure, dig out that scrap fabric stash!), and I think in the future I'm going to a do a spin off of those coasters!

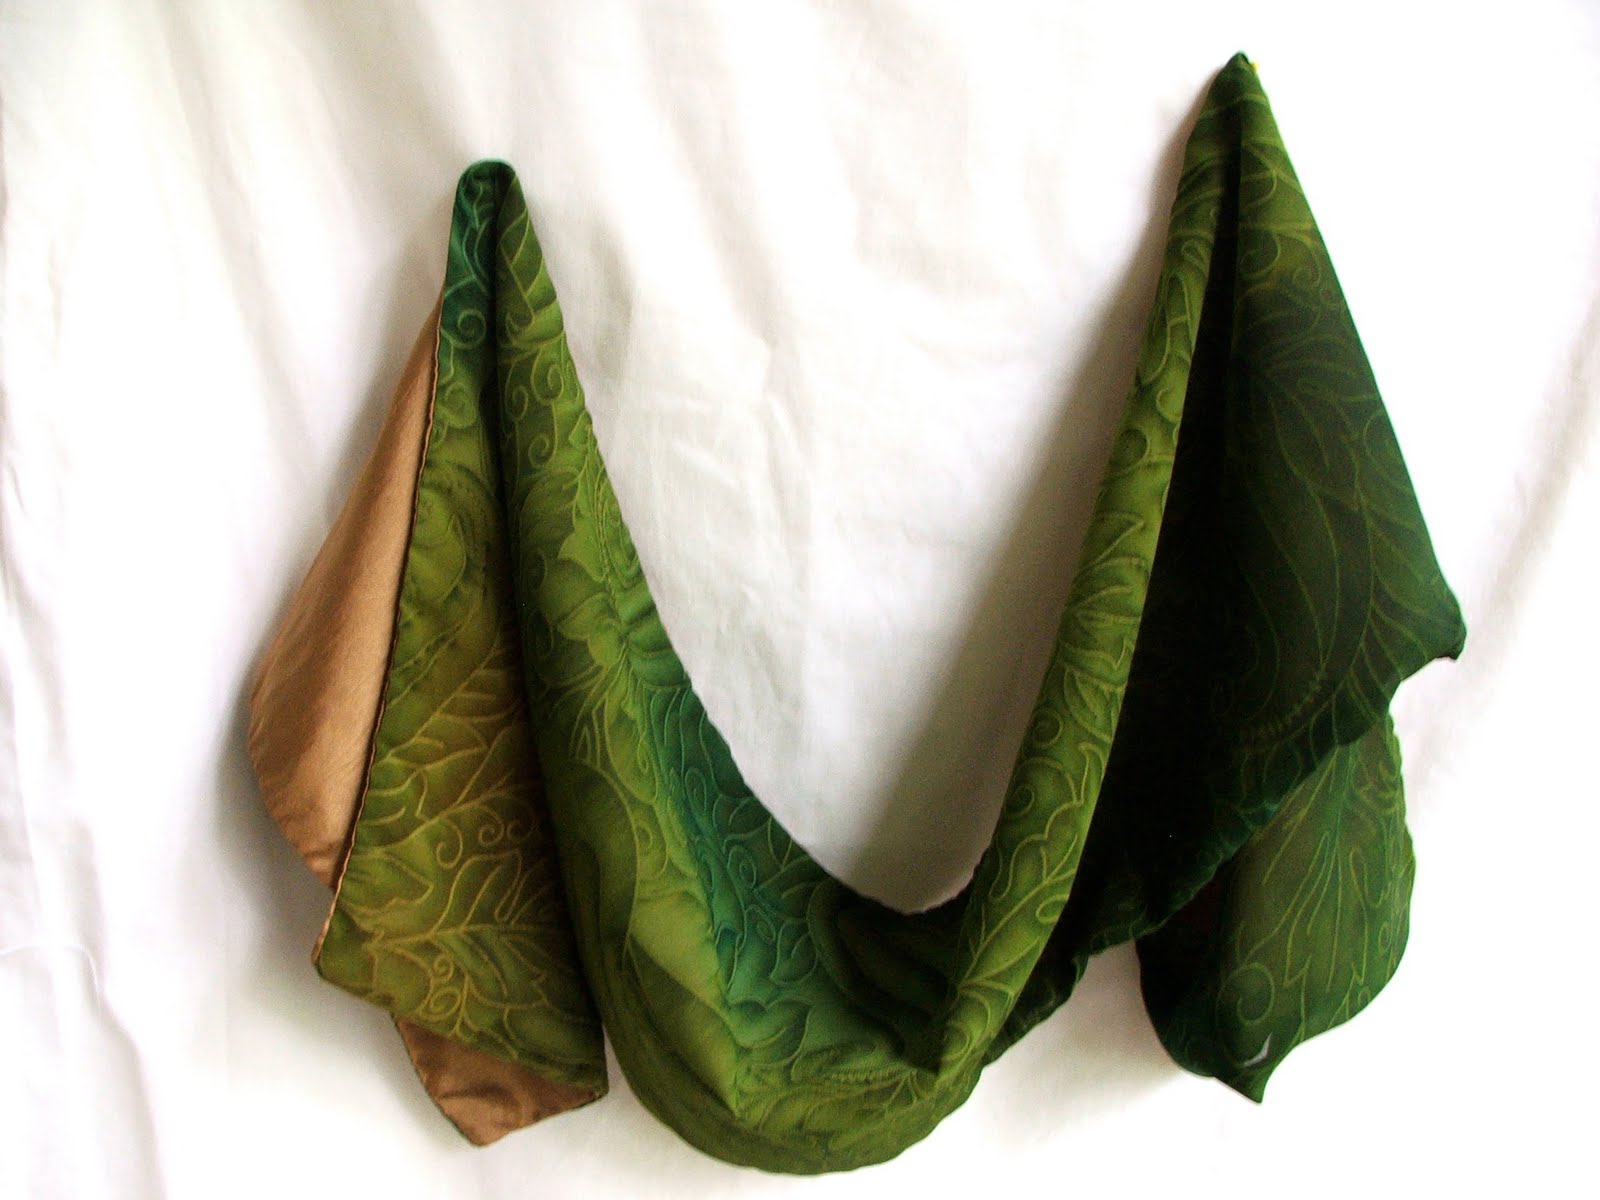
Caroline from Atelier Caroline made this gorgeous dressy chiffon scarf! I can absolutely see myself wrapped up in one of these on a cold winters day and loving my life because I feel so glamorous. Do you want to make me one Caroline? :)

Patty from Life on the Ride Side also linked up two great ideas! This adorable snowflake hair clip and coffee sleeve! I know I can think of several little girls that would love to have one of those clips adorning their pretty hair, and as a teacher I know I would love a coffee sleeve for all of my hot beverage needs!

Melissa from Simple as 1-2-3 dressed up a boring wooden stool and made it absolutely fabulous and personalized! I would have loved one of these as a kid! She also shares a sweet story about Christmas bread.

Amie (great name huh?) from Pinkapotamus made this great scrapbook picture frame! I love that she used a box, that way you can add all sorts of things in the frame and you're not limited to pictures!

Nike (pronounced Neeka) from Choose to Thrive made these fantastic stars out of a disposable cake pan! Brilliant, wouldn't they make great neighbor gifts?

And finally, Down a Clay Road make these simple Christmas decorations. I love the button accents and the sweet little dove, simple details make it beautiful!

Thanks for showing me your talent ladies! Feel free to grab a "Featured" button if you've been featured today! Or, if you've been featured any time. I know I've done a few blog highlights and project features so if you were a part of that grab one as well!
Keep linking up your great ideas! The link party goes until the 24th, so you've got plenty of time! :)

11.29.2010

Free Christmas printable

Well, everyone else is doing it! So I decided to jump on the bandwagon and make my own free Christmas printable! I however, spun it around a bit, because let's face it: at this time of year there aren't a lot of people "keeping calm." :)

Right click to save and then print it out and stick it in a frame to make me the happiest girl in the world! Hope you enjoy my humorous printable. :) Come back tomorrow for my first Christmas craft!

And don't forget to link up any of your Handmade Holiday Gift Ideas to my link party!
Related Posts Plugin for WordPress, Blogger...