Showing posts with label knock-off. Show all posts

8.17.2011

DIY Solar Lamps

Yikes, this post is way overdue! I've been meaning to post this for a while now. I got hung up trying to really customize one of them and couldn't find the right materials for it. The finished ones have been sitting happily though, soaking up light by day and giving me light by night!


Lovely right? Totally comparable to these:
From {ThinkGeek} at $35 a pop they aren't exactly affordable for every one! Mine ended up being about $7 each! I think yes!

My dad sent me this link from {lifehacker} at the beginning of the summer on how to make your own sun jars. My family knows me so well! I knew immediately that I wanted to do it (this is my disclaimer that this was NOT, in any way shape or form, my own original idea), so I set off on my journey to find the right jars. Remember {this} post?


It took a few weeks, but I finally found these stupid jars at {WALMART!} Walmart, of all places! I looked EVERYWHERE I could possibly think of and ended up finding some at Walmart. Gah! Then I went on my search for the right solar lights to take apart...

And found them at Harbor Freight {buy them online here} Actually, Dad found them. Not me. Keep in mind that it is way better to buy these FIRST, and then buy a jar that will fit the light. The other way around will just be difficult.

Those were the only semi difficult things to find, so, onto the materials list!

  • Solar light to be deconstructed
  • Nice, strong cutters of some kind
  • Wire nippers (the strong kind, not the flimsy jewelry kind.) Dad, remind me to bring these back to you. 
  • Glass jar with a GLASS LID. It is 100% crucial to have a glass lid. It is also very important that the jar won't leak water, because you wouldn't want to ruin your solar lights if it rains!
  • Frosting spray paint
  • Strong glue, like E6000
  • Small screwdriver
  • Your dad, to help your figure out all the electrical stuff and try out a bunch of expensive power tools while taking apart the solar light. 
It's a decent list, but hopefully with those two shopping tips will help get you everything fast. Awesome!

First, we gotta frost the jars. It just gives it a nice muted look and when they turn on in the evening they just fill the area with romantic, ambient lighting. Just spray paint the outside of the jar (NOT the lid). It may need a few coats before it gets the frost that you like.  Let dry completely.

NOTE: Me and my dad are working on this together, so when the hands change from woman hands to man hands don't be alarmed. Take apart your solar light as much as possible. More than likely, you will need to bust out a tiny screwdriver to really get it down to the guts.

This is about what it will look like. Yours might differ slightly if you got a different brand of solar light. But you should have a battery, a light, a switch, and some wiring.

We learned this the hard way. It is very helpful to glue all the wiring down to the base BEFORE cutting away the excess. First time around, we just cut away the excess and left the wires all over the place and they ended up coming undone and the wiring got messed up and the light didn't work. When we glued everything down it all stayed in place and nothing came undone. Huzzah! So glue it all down and let dry completely.

Then cut away anything excess. That little square is the solar panel, don't cut that. This step with vary depending on how big your solar panel is and how wide your jar lid is. Keep in mind that it's not how wide the mouth of the jar is, it's how wide the inside of the lid is. I've written in out in equation form, because I'm smart like that.

The panel has to fit INSIDE the lid. This is why it's important to get the solar panel first. Really if I were you, I would get the solar lights, cut it down, then take it with you when you go out and shop and secretly open up all the jars and jam that solar panel in and check to see if fits in nicely.


So cut, cut, cut! Use shears, wire nippers, and anything else that will work to cut through the plastic.

Done and done. We ended up trimming it down a little more than this, right down to the edges of of solar panel.

Chances are, you will need to trim it a little more and wiggle it in until it fits. How you want to keep that solar panel in is up to you. {lifehacker} taped it in and followed suit. You know, just in case I decide that I want to use the jar for something else or if the light breaks and I need to replace it. However you could glue it in, cement it in, glue dot it in or just shove it in so violently that it gets permanently stuck! Put the lid on a the frosted jar, set it in the sun for a few hours aaaaand.....

Epic win! The best part about these is that they are smart, they KNOW when to turn on! So no wasted solar energy!

Wonder why that middle one is yellow? I stuck a candle in there! I wanted to see if it would provide the same kind of effect and it did!

A less expensive, but still pretty alternative to a regular sun jar!

They give off just the right amount of light to be able to see, but not so much that you're overwhelmed with bright light when you're trying to woo your hubby.

Happy crafting! Linking up {here}.

8.03.2011

The button belt {a tutorial}

I made this a few weeks ago for a Pinterest Challenge over at {Better Life Bags}. My inspiration?


My version?

Love it! And it was way easier than I thought it would be to make a belt! A little time consuming with all those buttons, but still simple.

Yeah, it's awesome. It's fun and interesting and made a tiny dent in my button stash. Wanna make one too? We could be twinies!

You will need:

  • Lots and lots and lots of buttons (I had all of my button organizers spread out but they didn't fit in the picture)
  • Long strip of felt
  • Inch wide satin ribbon (I think I used...a yardish. 18 inches one each end of the belt)
  • Scrap of faux leather
  • Glue gun with at least five extra glue sticks
  • Scissors


I was a little too quick for myself and started working on it before taking pictures. First thing you need to do is cut a strip of felt 2-3 inches wide and long enough to wrap around your body minus an inch or two. You need room to tie the bow. So if you want it around your waist, measure around your waist and subtract and inch or two to leave room for the bow. Same if you want it around your hips. THEN you cut these two faux leather rectangles for the ends. Make sure they are just as wide as your belt. Mine were like....2" x 6"? I hate measuring.

Cut a small slit right through the middle of the rectangle just barely wide enough to thread the ribbon through. Do this for both pieces.

See how nicely it fits? Hot glue the ribbon down.

Liberally glue the inside of your leather rectangles and sandwich the felt in between. Do this for both sides and in less than 5 minutes you've got yourself a belt!

Then glue, and glue, and glue, and glue all those buttons on. I chose mostly pale colored buttons in neutral themes and designs, with a few funky ones thrown in. I wanted it to be able to wear it with multiple outfits.

Ok, maybe I had a lot of funky ones in there. I just love buttons! I used over 100 and my stash doesn't even look like it has been touched.

I've really got to get a picture of me sporting all the button crap I've made! That would be one intense pictures. Hmmm...what other crap can I make with buttons....

Linking up {here}

6.28.2011

In case you missed it, the Anthro knock off necklace

This was originally posted at Divorced at 20 last week. In case you missed it, here it is again!
--------------------------------------------------------------------------------------------
When Ashley asked me to do this post for her, she thought it would be fun to do an Anthropologie necklace knock off! Here we go.

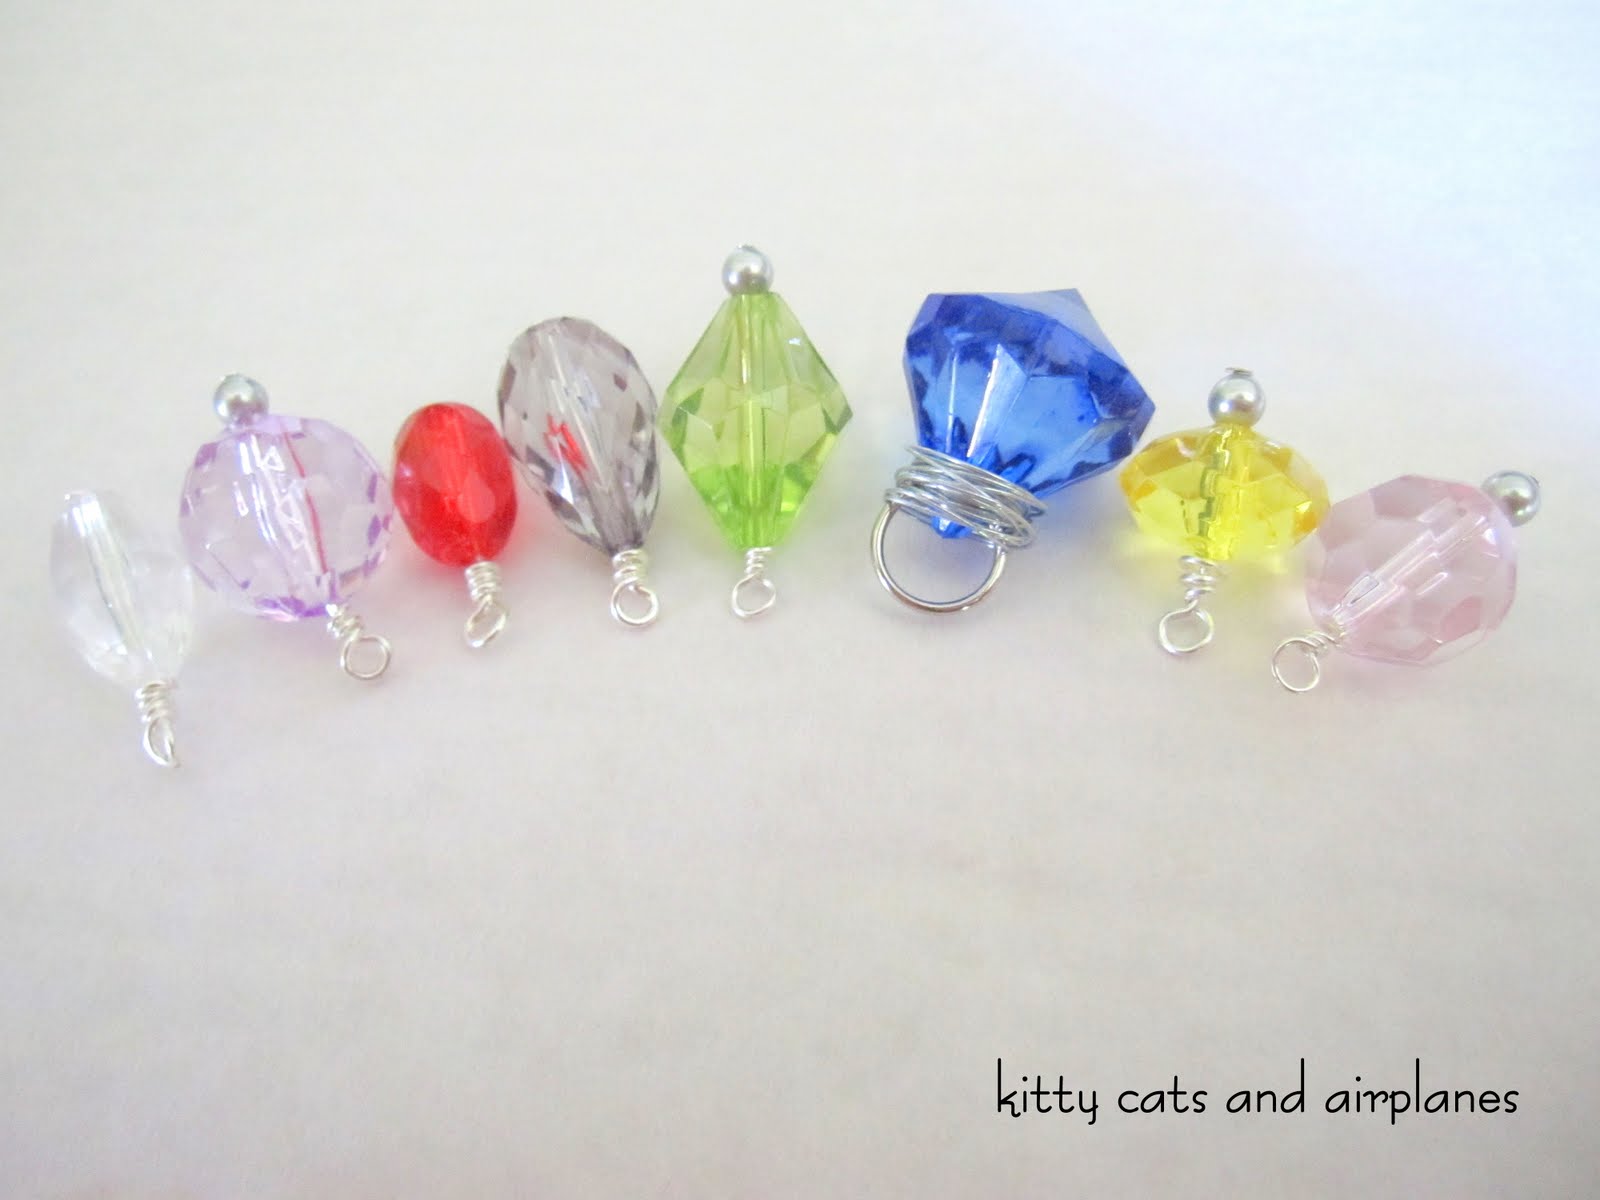
I absolutely LOVED this Kith & Kin necklace found {here}. Pretty, but not a hundred bucks pretty. The best part about it? I had everything I needed already in my stash, so this knocking it if off cost me nothing!

Now, if you've never made jewelry before, I highly suggest you check out my Jewelry Making 101 series found {here}. It goes over everything from the supplies you need to jewelry making terms to actually making jewelry. When you're done, come back, and we'll make a necklace. 

First, gather your supplies. Choose pretty beads and coordinating colors. (PS that key ring is a binder ring, can be found is office supply stores or in a high schooler's back pack.)

And gather your tools.

Thread each of your beads through a head pin (I added a small silver pearl to the bottom of a few of them.) If the hole is through the top, thread a jump ring through.

If you noticed in the original picture, all the beads are wire wrapped. This can get a little tricky for a new jewelry maker when we get to the tip drilled beads, so I came up with a faux wire wrapped bead. Just take wire from a spool and wrap it around that bead with the jump ring. Wrap it around and around and around till it looks good. Tuck in any loose ends.

With the center drilled beads, it's a lot easier to do the wrapping. {Create a loop} but don't trim the excess. Make the loop as big as you possibly can with your round nose pliers, because those key rings are quite thick. I learned this the hard way.

Hold the bead with your round nose pliers, and gently wrap that excess wire around the base of your loop. Go slowly, use your fingers, and go with the flow of the wire.

Wrap around until you run out of room, or wire. Trim any extra write and you've got yourself a wire wrapped bead! Do it again or all of your beads.

Ahh, nice and wrapped. Ready to thread!

Thread your wire wrapped beads onto your open key ring. Don't forget to add an extra jump ring a the top!

{Create a necklace} with the clasp, chain, and jump rings. Thread your cute new pendant onto the necklace.

And wah-la! You've got yourself an Anthropologie necklace on the cheap. People will walk up to you and say, "Love your necklace!" and you'll say, "Thanks yo! I totally made it." "Dude!" Yeah, that's how it will go.

1.04.2011

Tutorial Tuesdays- Lace bow (an Anthro knock-off)

Are you ready for the EASIEST knock-off in the history of knock-offs?? This bow is so super simple it's criminal. It will blow your mind.
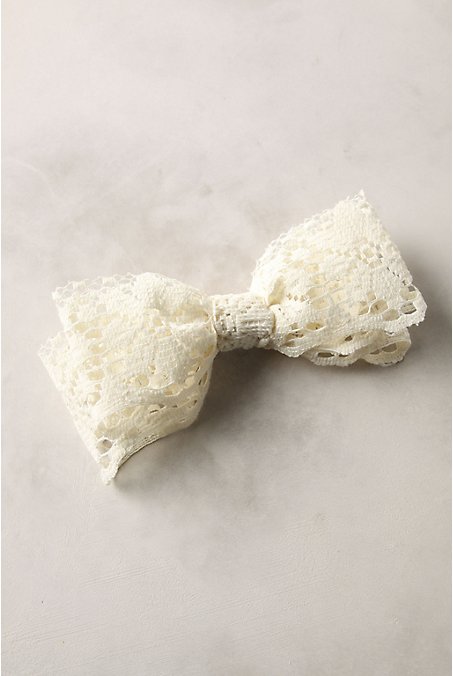
I was enjoying browsing through Anthropologie's loveliness when I spotted this pretty little number called the Fanny bow. My jaw dropped a little and I let out a "Fer realz????" when I saw it. Super cute and I knew I could whip up a knock-off version in a few short minutes. Enter supplies...

  • Vintage lace (or regular, non ruffled lace from a spool)
  • Matching felt
  • Hair clip
  • Scissors
  • Glue gun
Cut two lengths of lace, one five inches long, one six inches long. Run a line of glue down one end fold the other end over to create a loop. Do this for both pieces of lace.

Make sure your two glue-y sides are facing down, and stack the smaller piece onto the larger piece. Center everything.

Put a little dab of glue into the center of the top piece.

Gently pinch the two sides of your bow inward. Make sure that the glue doesn't find it's way all the way up, you only want the glue to be at the bottom of the fold! You should still have a little bit of loose lace at the top of the fold.

Cut out a third piece of lace, shorter than the other two.

Fold/roll your lace. Secure with glue if needed.

Gently press open the fold on your bow. See how it can still be opened a little? This is important to give the bow the prettiness it deserves.

Lay your folded lace on top of your bow so that it "opens" the fold. Secure with glue.

Wrap the folded lace around to the back and secure with glue! The bow is done!

To attach it to a clip, glue a small piece of felt on the back of your bow.

Cut another piece of felt and sandwich it in between the prongs of your clip.

Add glue to the TOP of the clip.

 And add it to the back of your bow! Trim any necessary felt aaaaaaaaaand....

Look fabulous! I love this little bow, it's feminine and chic at the same time. Plus, I kind of love lace. A lot. Easiest Anthro knock-off ever right?

Make sure to check out all the fabulous blogs I'm partying at!
Related Posts Plugin for WordPress, Blogger...