Confession: I totally just finished this. I was so zonked yesterday I just did not have the energy to do anything crafty! But never fear, Crafty Woman is here with some fabulous autumn wall art!
I've had this project in the makes for a few weeks now, and I was super excited to discover that yes, in fact, it was ready to be put together. You see, this project took prep work, it wasn't one of those "OMG I WANT TO DO THIS RIGHT NOW!" and then use crafty magic to make it appear. Nope, this was a "plan ahead" project. Ready for a story?
Once upon a time a beautiful princess was being chauffeured to the grocery store by her handsome prince. She couldn't help but notice all the stunning colors of the trees, and shouted "HALT!" to her prince. He slammed on the brakes and the princess scrambled out of the car and madly started plucking leaves off the tree. Instantaneously, her bag was filled with leaves and she eagerly took them home, mind buzzing with new projects. The End.
You'll need to do the same for your prep work! I gather TONS of leaves all from the same tree for consistency. I sorted and arranged the leaves and finally came up with two designs I liked: the leaves "changing" colors and the leaves "growing." I
stole borrowed several of my hubby's accounting books and placed the leaves inside between sheets of waxed paper to press and dry them. Fast forward a few weeks. I opened the books and the leaves were ready! Huzzah!! Now, you're ready to start!
To make this lovely art, you will need:
- Dried and pressed leaves (you can even use the microwave method from when I did my napkin rings!)
- Large frame that will fit all the leaves (found mine for $4 at the thrift store)
- "Background" to your art (I used burlap, but wrapping paper, scrapbook paper, spray painted poster board, whatever you want will work here!)
- Scissors (not pictured)
- Some kind of acid free, sticky adhesive (messed around with a few so it's not pictured here either, sorry)
- Duct tape
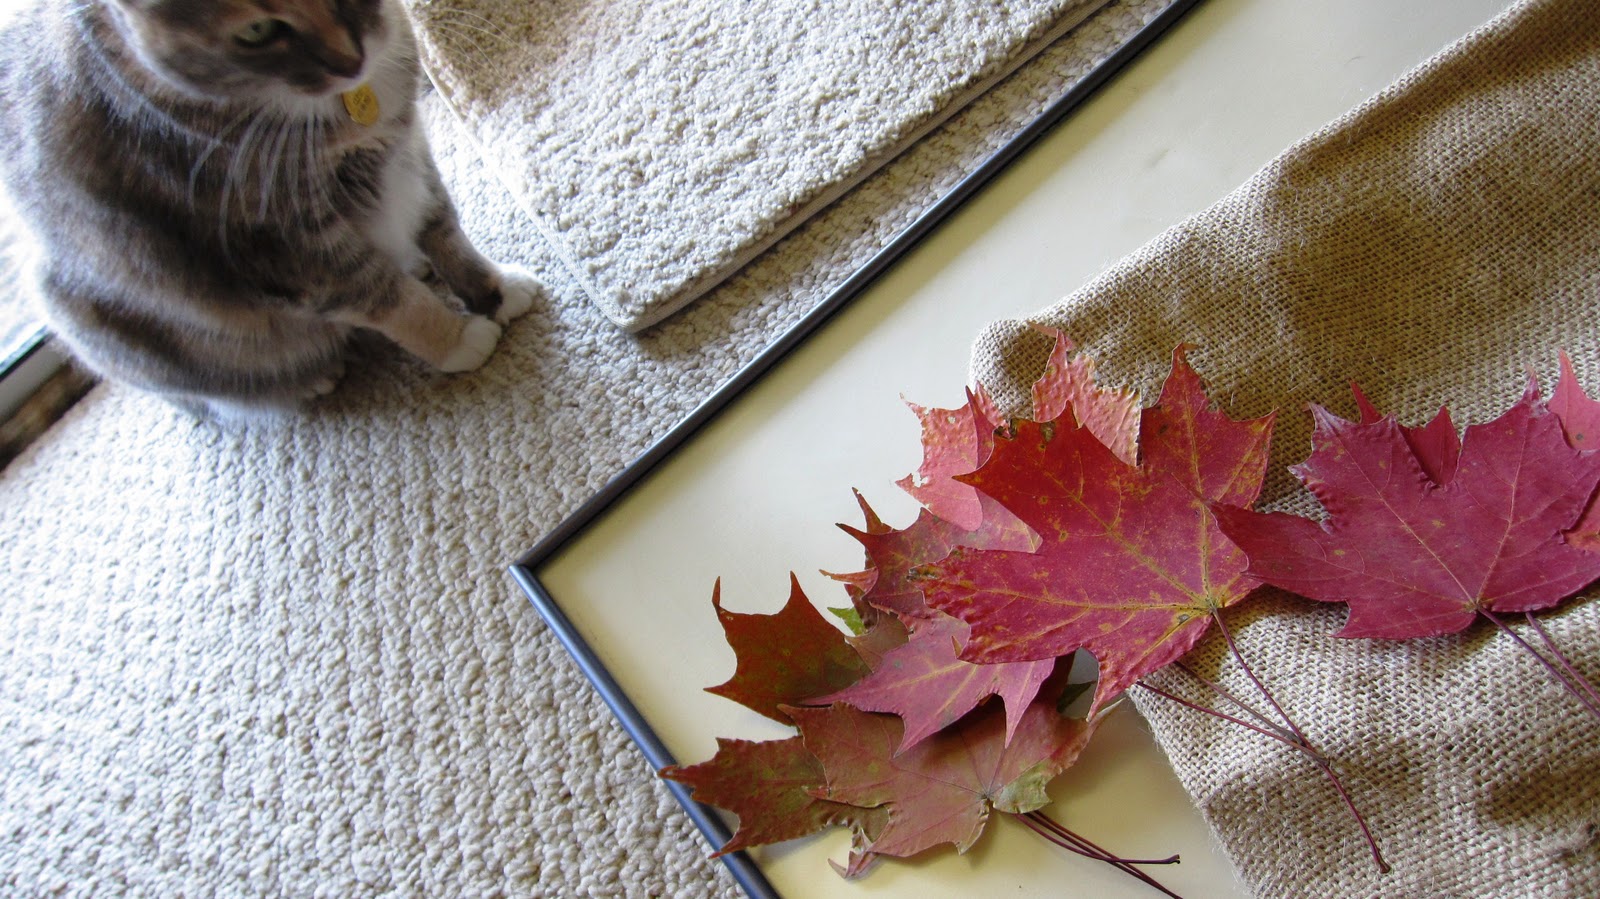
- An adorable and playful kitty.
Ok, you don't really need a cat, but Cleo was all up in my project today, so you'll see her a few times.
My burlap had been is my fabric bin for a while, so it was really wrinkled. I plugged in the iron, turned around to grab something and there was Cleo! She eventually got off once I started sliding the iron across the burlap. Oh, and burlap doesn't iron very well. It requires a very hot setting and lots and lots and lots of steam.
Once it was reasonably pressed, I laid out the cardboard/foam poster board on to of the burlap and cut out the burlap a few inches around on each side.
This is where the duct tape came in. I just folded the burlap over and duct taped it to the poster board. I did this all the way around, pulling pretty tightly so the burlap would lay flat against it.
I can't for the life of me turn this picture around. Sorry. You'll end up with a burlap covered cardboard/foam poster board thingy.
Arrange your leaves in a pleasing manner on your burlap. Since mine were "changing colors" I started with the green one at the top and ended with the red ones at the bottom. That's the adhesive I used, kind of like glue dots. I knew hot glue would ruin the leaves and I was too impatient for Elmer's or tacky glue, so I went with this It was just sticky enough to keep the leaves in place but they were still movable if I didn't' like the placement.
Cleo insisted on inspecting my work. She finally gave her approval.
I slid everything back into the frame and voila! Easy peasy art! Now just to figure out where to hang it....
Make sure to check out my "Link Parties" tab to see where I'm linked up! Take a look around, link up something yourself, have a little party and get really distracted looking at craft blogs. Happy crafting!


4 comments:
This looks beautiful! I love projects that bring the beauty of the outdoors in. This is amazing thanks for sharing the tutorial and linking up to my Pink Hippo Party!
Way cute and fall-ish! :)
I love how simple and practically free this is! It is stunning!
Thanks so much for stopping by the Free for All party!
Hannah @ http://youngancrafty.blogspot.com/
link this up to MMM this week! MMM starts tonight :) It is so cute :)
Post a Comment