


Once upon a time, I was super excited when I found out Stella could cut fabric (Stella = Silhouette). I ordered the interfacing right away so I could create some awesome crap! I got in the mail, jumped for joy, and put it in my drawer.
And it has been sitting there every since.
Fast forward to now, my darling little brothers are leaving for college. The hubs and I got them backpacks, mice, jump drives and tons of other college-y type things. One thing we didn't get them? Laptop sleeves. We just didn't feel right spending $30-$40 on something I could make myself. I envisioned them with their nicknames in big, bold letters on the front. So to Bella I went! (Bella = Sewing machine)
Big, bold letters appliqued on the front? AHA!!! A chance to use my interfacing! Win.
Then I got scared. That sometimes happens when I try new things. I thought about embroidering it them on, but duh, I can't embroider. Thought about appliqueing like normal person. No, too much work. Sigh....ok I'll try to figure out how to do this.

- Silhouette SD with all the software installed and all the other stuff that goes with it
- Fabric
- Silhouette fabric interfacing (I used the sewable kind)
- Sewing machine, thread, etc, etc

Design what you want to cut out. I used big, bold letters to sew on the front of my brother's laptop sleeve. I would steer clear of anything with a lot of curves, thin lines, or complicated edges. Keep in mind that you will have to sew around your image at the end!

I VERY STRONGLY RECOMMEND test cutting your image first on a scrap piece of paper. (I actually didn't learn that the hard way!) Place it on your project to be appliqued to see if you like it. Adjust your image as necessary. When it's perfect, move on.

Cut out a piece of fabric large enough to fit your image. Then cut a piece of interfacing slightly bigger than your fabric.
Using the heat setting appropriate for your fabric, and iron on the interfacing shiny side down on the wrong side of the fabric. (Check the packaging if you're not sure)

Tadah!! Interfaced fabric.

Peel away the paper from the fabric. There should be a film left behind. If not, iron again until the paper comes off nicely.

Place the fabric on your thick media mat, interfacing side down. Smooth it out and make sure there aren't any wrinkles, that wouldn't be good.

Feed into your Silhouette.

When you are cutting fabric, make sure the speed is set to 5, the thickness is 30, and you put the PINK cap on. With the new updated software you can just choose "fabric" and it'll do that for you, but just in case, those are your numbers.

Then cut! Well, watch in amazement as your machine does all the work. I double cut mine because I was paranoid it wouldn't cut all the way through. But look at that! Beautiful! Carefully peel off the letters.

Arrange your image where you want it to be on your fabric. Don't mind my lines, I was being extra super mega precise. Iron on, no steam, for 8 seconds or so. Keep in mind that if you peel your image off it will not iron back down, so make sure it's exactly where you want before you iron it on!

Lastly, sew around the edges. You can't see in the pictures because I was running late to get these to my brothers and literally took a picture at the last second, but I zig zag stitched all the way around each letter to make it look like a jersey. Took. For. Ever. But I loved the effect.
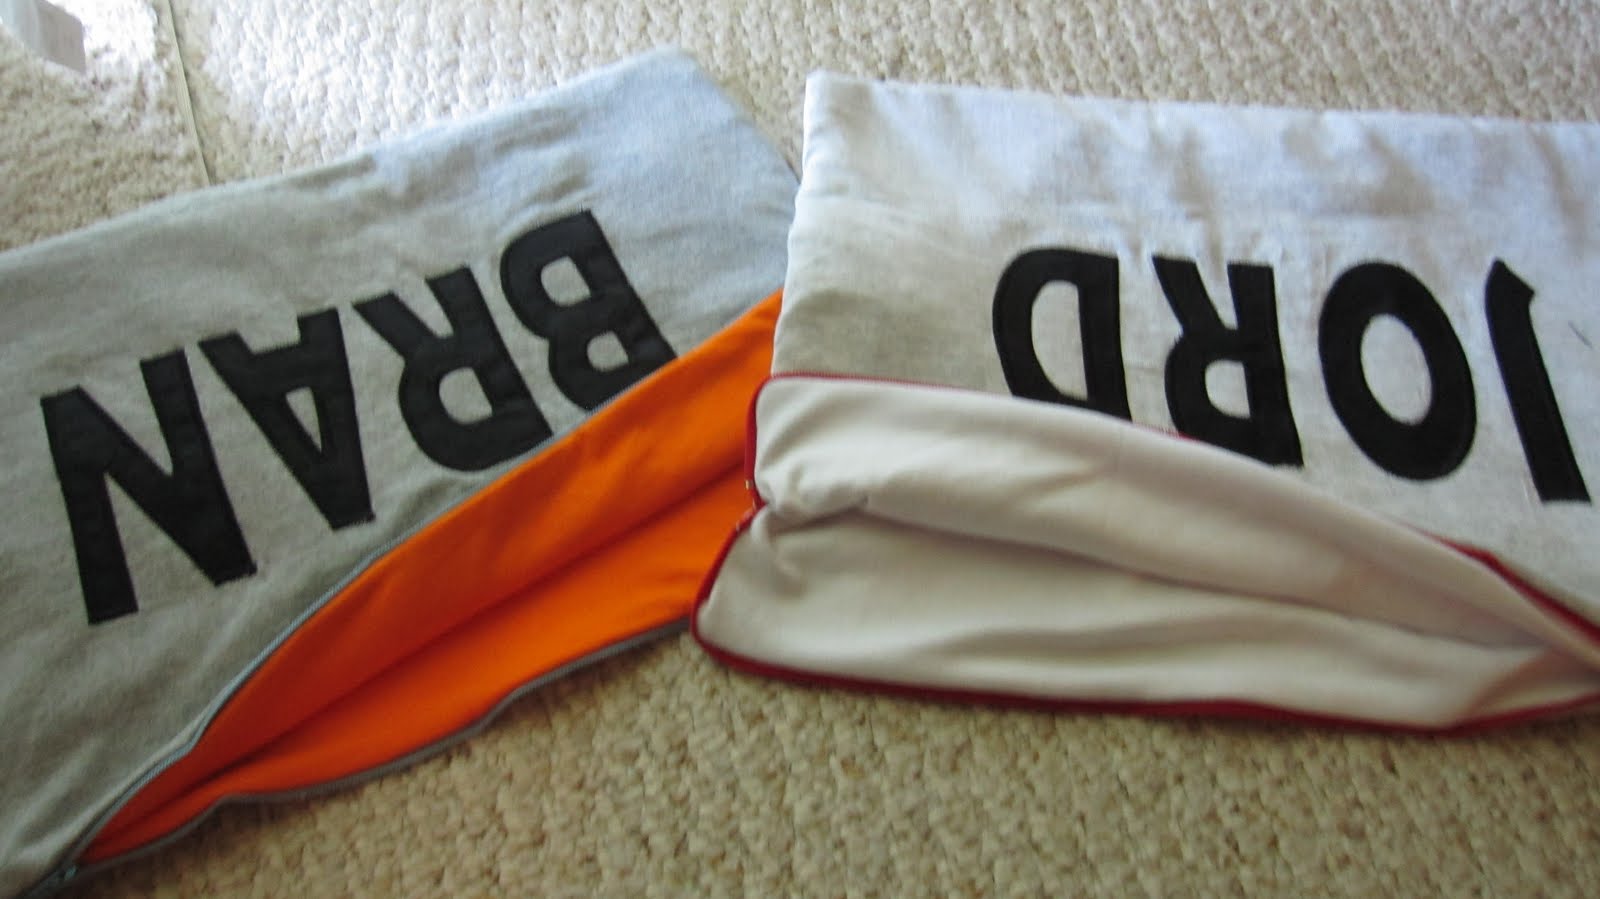
And thanks to David's old T-shirts and a large stash of supplies, this project cost me nothing! Saved myself almost $80. Now I can go spend that money on MORE crap. :D
Oh, and PS I used Char's {tutorial} over at Crap I've Made. This sleeve was not my own design. I had a little bit of trouble with it (ZIPPERS!!!!), but it all worked out!
Happy cutting! Linking up {here}

No comments:
Post a Comment