


You guys, I've missed you. A lot. I know I've been a lot more sparse this summer, but hopefully I can pick things up and get back into it soon!
Just a few reminders, ALL five giveaways for my 5 for 500 end tonight at midnight! I will announce all the winners tomorrow. If you haven't entered, click {here} to find a link for all of them. Also, don't forget to link up to 3...2...1...craft! right {here}You have until Monday at midnight! This is my "entry," I posted this last week over at {Bugaboo, Mini, Mr, and Me}.
Just a few reminders, ALL five giveaways for my 5 for 500 end tonight at midnight! I will announce all the winners tomorrow. If you haven't entered, click {here} to find a link for all of them. Also, don't forget to link up to 3...2...1...craft! right {here}You have until Monday at midnight! This is my "entry," I posted this last week over at {Bugaboo, Mini, Mr, and Me}.
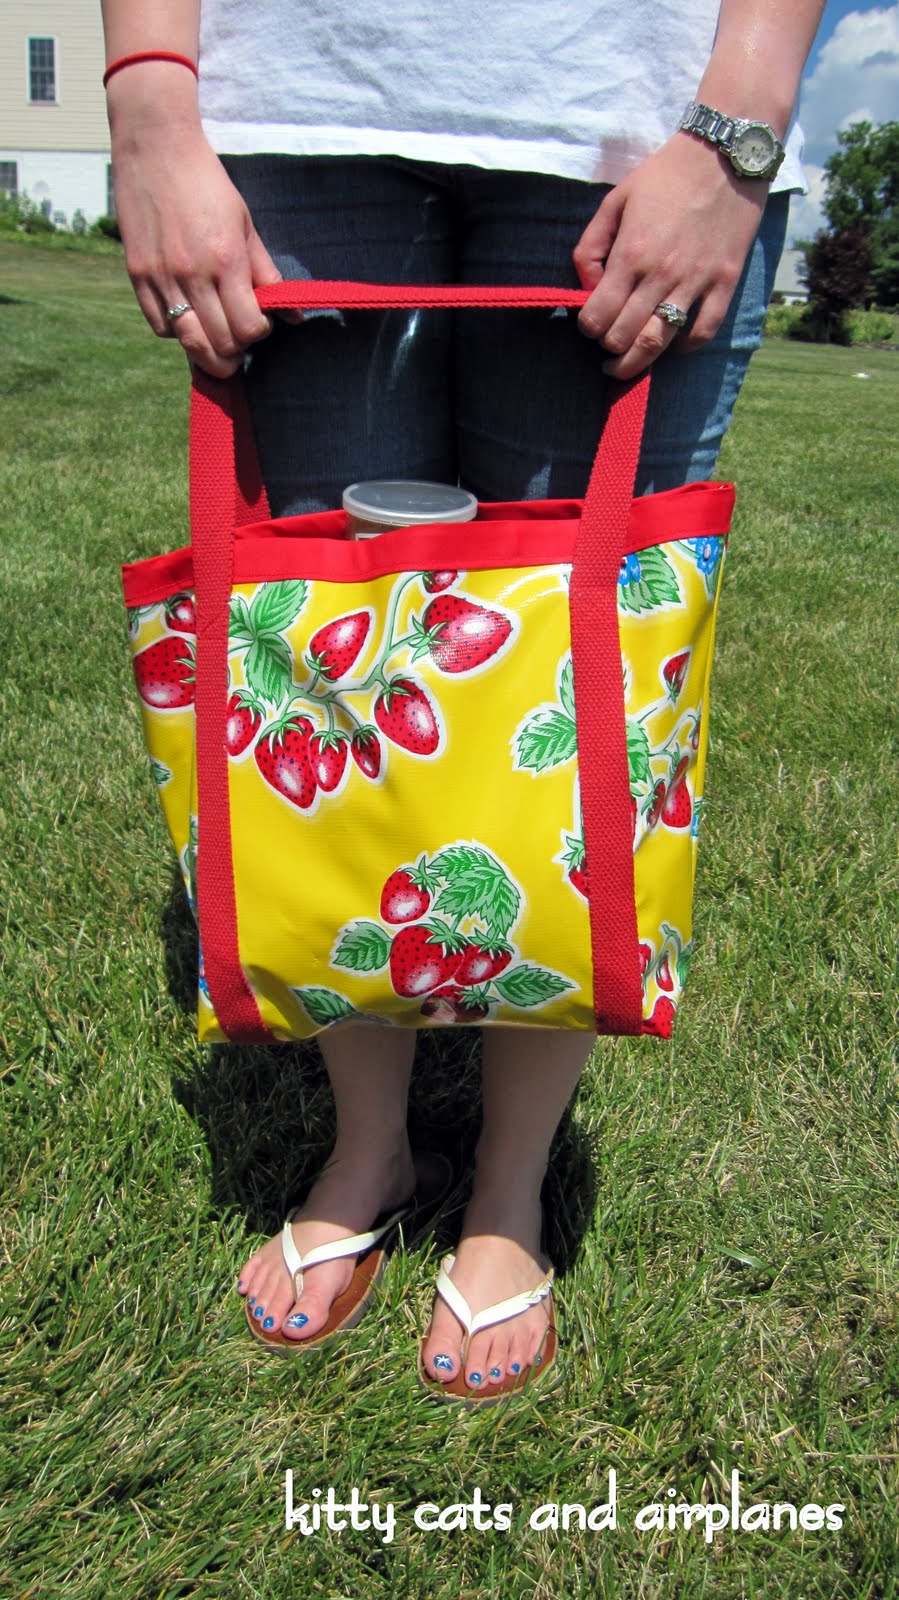
I had so many ideas for her, "Life's a Picnic" series, but I finally settled on a carry all picnic tote.

I found this gorgeous oilcloth in a restaurant (yes, restaurant!) while on vacation in South Carolina. It was only $7 a yard which is the cheapest I've ever seen oilcloth. I snatched up a yard and have been waiting for the perfect project ever since. It is perfect for a picnic tote because if you accidentally set it in mud, your kid barfs on it, or you spill mac and cheese all over it all you need to do is wipe it clean! Easy peasy. To make one yourself, you will need:
- 1/3-1/2 yard of oilcloth
- 1/3-1/2 yard liner fabric (I used muslin, but you can use anything you want here)
- 1/2 a package of quilt binding
- 3 yards of webbing for handles
- Tape
- Paper clips or binder clips
- Regular sewing stuff: machine, matching thread, seam ripper, scissors, rotary mat and cutter, etc.
Before we begin, a few tips for sewing with oilcloth:
- Use a denim or heavy duty needle. Your all purpose needle won't be able to handle the thickness. (Regular thread is fine.)
- A nonstick pressure foot is helpful but if you don't have one layer tissue paper on top of your oilcloth.
- This might go without saying, but just in case, don't iron it or wash it. If it's wrinkled or has creases, lay it in a warm place or in bright sunlight for an hour and it will get soft and flatten itself out. Wipe clean with a damp cloth.
- When designing a project, plan to do as little turning right side out as possible. This stuff is as beast to turn.
- Lengthen your stitch a little bit. If you use too small of a stitch, the oilcloth might perforate and tear.
It can be a teensy bit tricky, but you'll get the hang of it real fast! Test sew a few small pieces to get a feel for it.

This is the pattern I used. A 15"x18" rectangle with two 3"x3" squares cut out of the bottom. Cut two pieces from your oilcloth and two from your liner. Also cut out pieces for any pockets or add ons you might want.

I used four foot pieces one inch webbing for my handles. This ensured that the handles were long enough to put my arm through and sling the tote over my shoulder. I measured in 1 inch from the squares but feel free to place them wherever you like.

TAPE the webbing down. DO NOT pin oil cloth! It leaves little holes that will not "heal" and will leave unsightly marks. Use tape, paper clips, binder clips, and and other means possible to keep things nice and secure.

Sew up each side of the webbing using 1/8" seam allowance. (Check my little black lines I added in.) Leave 1 1/2 inch at the top for your quilt binding.

Once you've sewed the handles on both pieces, paper clip your pieces right sides together.

It actually holds really well! The only bummer is you can't sew through paper clips, so you need stop and pull them off when you get to them. Sew across each side and the bottom with a 1/4" seam allowance, but don't sew through those squares.

Those squares will create the flat bottom to your tote! Gently press the corners to each other.

Like so. Flatten it out to get a straight line. Make sure everything is lined up and paper clip together. Sew down using 1/4" seam allowance.

Gently turn it right side out, try your best to not crease the oilcloth. Then, repeat all that stuff you just did for the liner. Though you don't have to sew handles onto the liner, make sure you sew on any pockets you want BEFORE you sew it all together.

Place the liner inside the tote, wrong sides together. (You should see your pretty oilcloth on the outside and all your pockets on the inside.) Line up the side seams, and paper clip your quilt binding over the raw edges at the top of your bag and sew. If you've never sewn with quilt binding or bias tape before, check out it this awesome tutorial from {Angry Chicken}. I also have another tutorial {here} using the same method.
And that is it! A super easy picnic tote to bribe your honey to take you out.

A peek inside mine. I added several pockets and an elastic holder.

It's roomy enough to hold your blanket, sandwiches, chips, napkins, silverware, a bottle of wine (peach cider in my case!) and a lot more! Big enough to hold it all, but not so huge that you look ridiculous carrying it.


Picnics are a lot less lonely when your date isn't the photographer. :) Ah well, life's a picnic!
Linking up {here}

8 comments:
Love the fabric you choose for this project, very nice. Stopping by from {flamingo toes}
Kristin
That is just beautiful and your instructions are so clear. Great post.
That is just beautiful and your instructions are so clear. Great post.
This is awesome! Love the bold print and the tutorial is fabulous! Wish I had your sewing abilities.. but I am working on it! Thanks so much for sharing with the Pink Hippo Party.. can't wait to see what you share next!
Great project! I love the details inside with all the extra pockets, elastic band for water. You've thought of everything. Hope you get many picnics out of it :)
SO cute and awesome tutorial!!!
We host a linky party “Help a Momma Out” every Tuesday. This would be a perfect link up! Please feel free to add it :) We appreciate it! Thanks for sharing!
Kristine
www.jandmseyecandy.blogspot.com
What a great tutorial, Ilove the choice of fabric! Now google following you, please pop by, Karima x www.karimascrafts.com
Hopping over from Ladybug Blessings linky party….
What a wonderful crafty project :)
I'd like to invite you to link your projects up at my weekly linking party at Craft Junkie Too. We'd love to have fabulous projects to share….:)
Tracy
T.G.I.F. Linky Party at Craft Junkie Too
Post a Comment