Confession: I'm totally sick of Valentine's Day decor. I think it's just a little weird to have hearts and pink and sticky sweet lovey-ness plastered all over the house. But that doesn't stop me from oogling over beautiful decor though, but it does stop me from making a lot of decor myself. However, I loooove cute Valentine's Day accessories, like treat bags filled with sugary goodness.
Yummy. Bright colors, drawstring closure, and oh so festive! Only problem? A felt bag can't be filled with Sour Patch Kids. :( Wanna make one yourself? You will need:
- One sheet of felt for the main bag
- Coordinating scrap felt for embellishments
- A yard of coordinating ribbon
- Scissors
- Pinking shears
- Embroidery scissors
- Safety pin
- Cup
- Disappearing ink pen
- Regular sewing notions: sewing machine, thread, pins, etc.
Cut your sheet of felt in half hamburger style so you end up with two rectangles.
Place a cup on the corners of your rectangles, then trace around the cup with your disappearing ink pen. Cut around your lines to round out the corners.
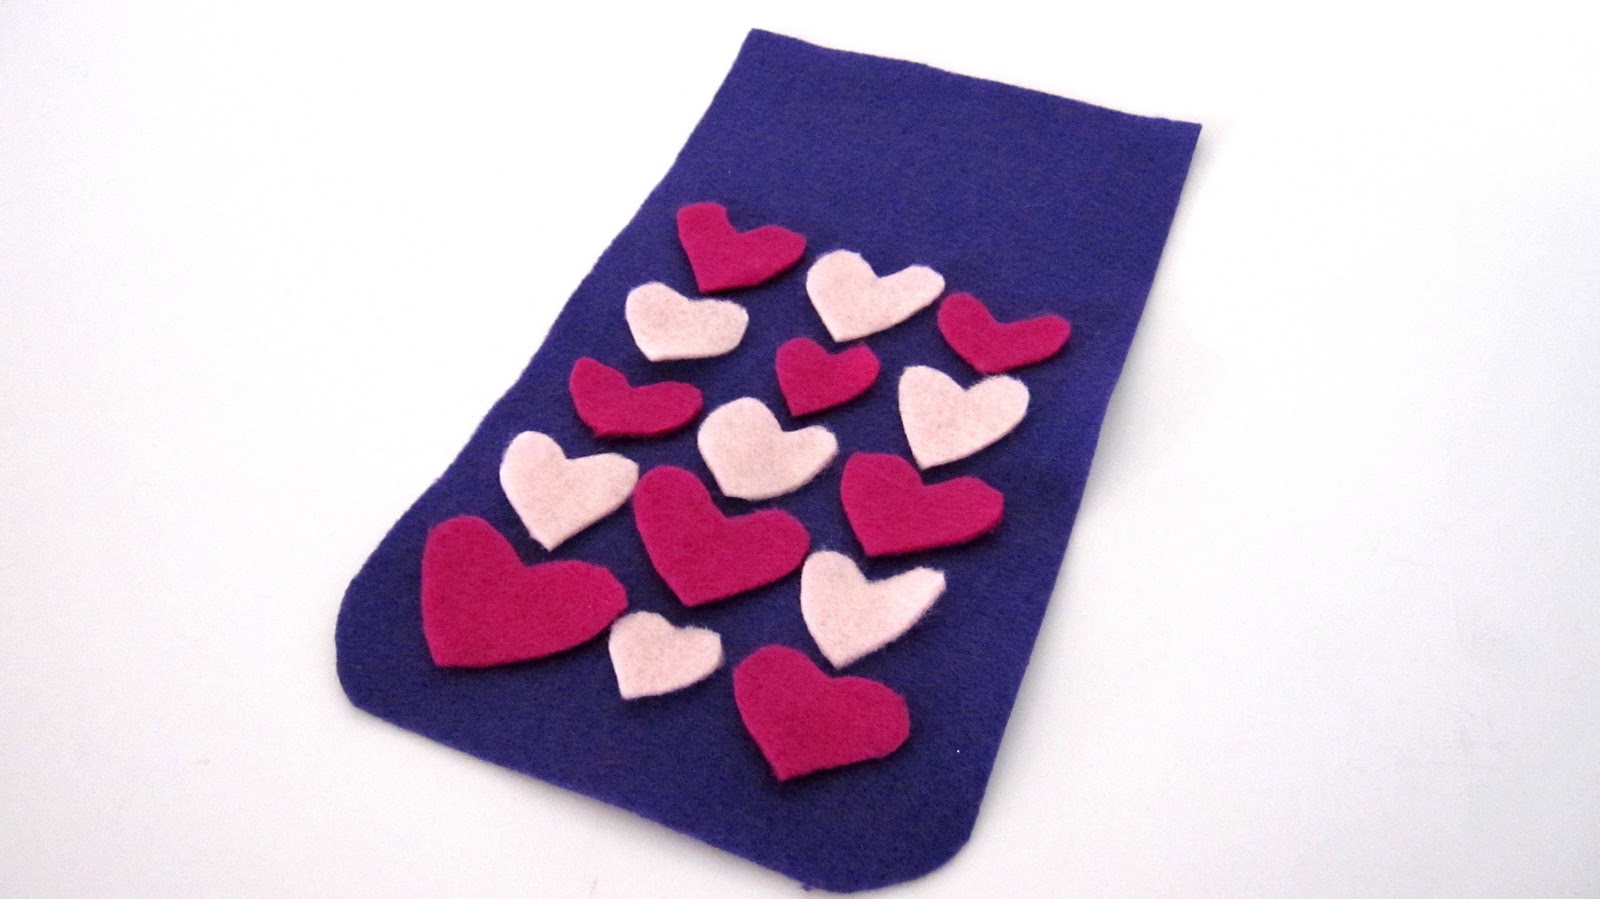
For embellishments I decided to cut out a bunch of hearts from pink and magenta felt. I didn't use a pattern or anything, I liked the wonky-ness of them! I arranged them in a pattern I liked, then pinned them down.
Then I sewed down the middle of the hearts with pretty lilac thread.
Place your two bag pieces right sides together and pin around the sides and bottom. At the last minute I decided to use the pinking shears at the top to imitate a paper bag.
Sew around the sides and bottom using 1/4" seam and a straight stitch. Turn right side out. If you'd like, you can stop here and still end up with a cute treat bag! If you want the drawstring closure, keep reading.
Use embroidery scissors to cut small slits on the top of your bag. Cut them about an inch apart and 1/4" to a 1/2" wide, depending on how thick your ribbon is. Make sure you cut through both layers of bag (that's what I'm trying to show with the picture.)
Hard to see, I know, but squint real hard! This is a general idea of what your slits should look like.
Take a length of ribbon (I used about two feet because I wanted to be able to wrap the ribbon around the bag a few times) and heat sealed the ends. Pin a safety pin to the end, and thread the ribbon through your slits, up and down and up and down.
Just like this! Since the ribbon is so slick when you pull on it, the bag will scrunch up and close! Nifty right?
Fill it up with treats, for this kind of bag it's best to use treats that are either wrapped or candy coated (Think Starbursts, M&Ms, Skittles, and the like. Steer away from cookies, Sour Patch Kids, or any other treat that could make a mess.)
Don't forget to share. ;)
When it's filled just pull on the ribbons, tie a cute bow...
And you're ready to go! This is a quick project (30 minutes or less) so you can whip up several of these for classroom parties, neighbor gifts, or your kids' lunches!
Don't forget to check out where I'm partying! Click on my "parties" tab.


5 comments:
Eeeek! Super Duper Cute!!! Love the stitching down the center of the hearts! Great project! =)
LOVE LOVE LOVE!!!
Aw, that is so sweet! Love the 3-D hearts :)
Very sweet! Thanks for sharing ... I'll be linking. And please come join my link party anytime!
http://childmade.com/index.php?name=Shared%20links
So much fun! Love all the hearts.
Post a Comment